Firstly we need to understand what is frontend testing in selenium. So in frontend testing, we test the flow of UI rather than comparing the image type or color of our frontend. In frontend test automation using Selenium, we primarily focus on validating functionalities such as button navigation to ensure they direct us to the intended pages. Additionally, we verify the accuracy of front-end content delivered through APIs. However, for examining UI elements like images or color, you can employ AI-powered tools that compare website screenshots and provide insights into any discrepancies.
There are two ways to test frontend using selenium
-
By writing a script
-
By using Selenium IDE
1 – Testing frontend using selenium script
Firstly we need to understand that, how selenium works
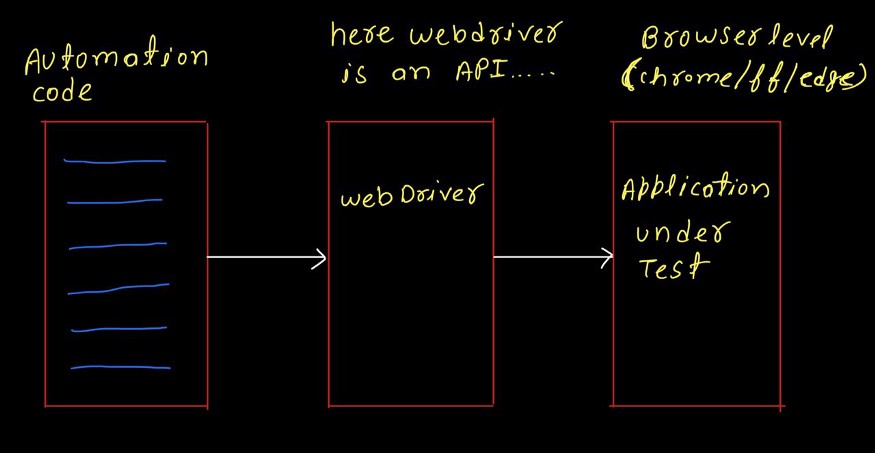
The image indicates that our script uses a test generator to communicate with our website. The test generator relies on a web driver to facilitate communication between our code and the browser.
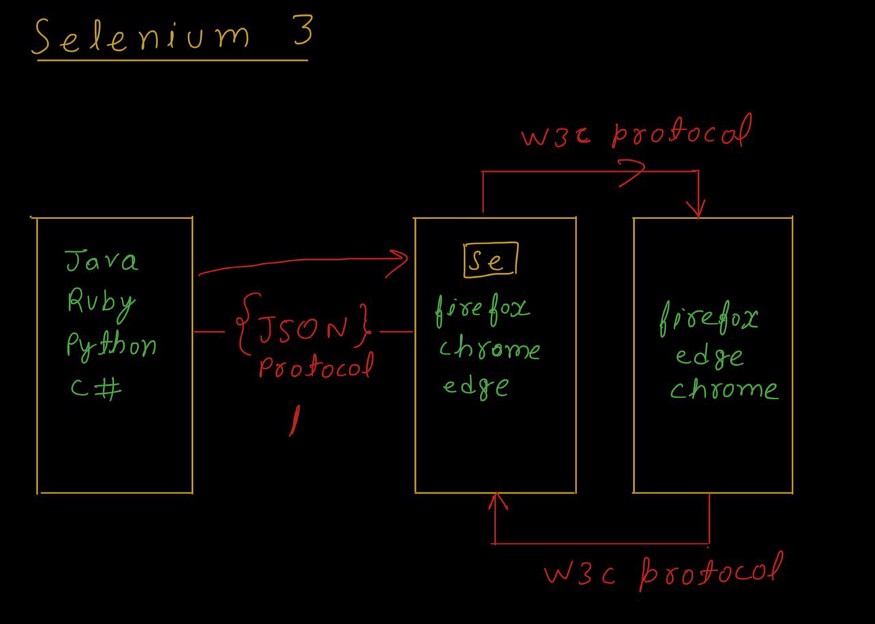
The image above illustrates how Selenium 3 enables our script to interact with the web driver through the JSON protocol, while the web driver communicates with our web application using the W3C protocol. All of these capabilities are made possible thanks to the Selenium tool. Our script easily interacts with the web driver through the JSON protocol, and the web driver effectively communicates with our web application using the W3C protocol. The Selenium tool plays a vital role in enabling these interactions.

The image illustrates the usage of Selenium automation testing, specifically in Selenium 4. In this version, our script engages with the web driver through the w3c protocol, and similarly, the web driver employs the same protocol to interact with our web application. Selenium serves as the enabling tool, allowing these communications by utilizing diverse protocols.
Now we will do a practical, where we are going to write a python script using selenium for testing the title of Flipkart.com
Prerequisites are
-
Pycharm for writing a python script
-
Webdriver of the same version on which our browser is running
-
A web browser for testing our web app
Let us examine the Python code, with explaination for each line.
#this line will import the selenium tool inside your code but before that, you need to download it in your pycharm by going in files->settings->projects
from selenium import webdriver
#this line is required for managing webdriver required only in selenium 4
from selenium.webdriver.chrome.service import Service
#this line will import your webdriver which you have downloaded and kept in this project folder
driver = webdriver.Chrome(service=Service("../chromedriver_win32/chromedriver.exe"))
#wait time for slowing the actions
driver.implicitly_wait(100)
#this will maximize the window
driver.maximize_window()
#this will open the google.com
driver.get("https://www.flipkart.com/")
#this will pick the title of flipkart.com
act_title=driver.title
#we have provided this title for matching
exp_title="Online Shopping Site for Mobiles, Electronics, Furniture, Grocery, Lifestyle, Books & More. Best Offers!"
#we will compare the desired vs final title
if act_title==exp_title:
    print("Title check passed")
else:
    print("Title test failed")

#this will close the website
driver.close()
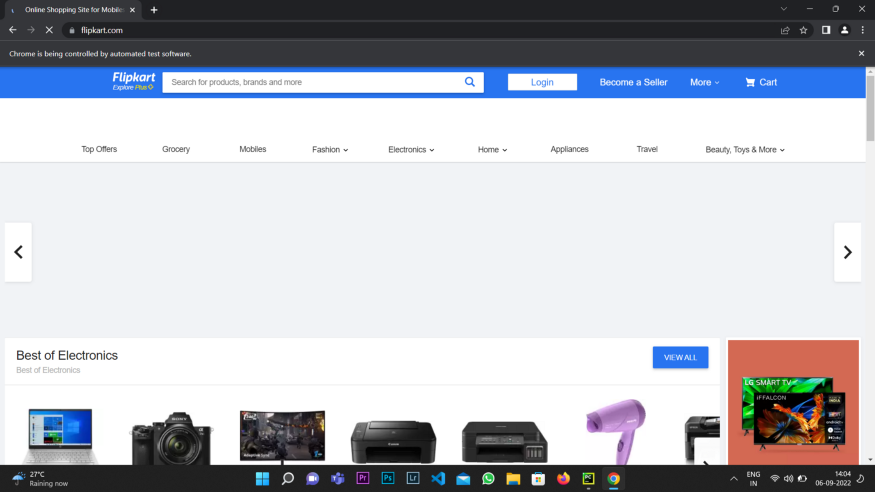
In the case of selenium automation testing, when you start the test by clicking the run button, the Chrome browser will be launched and open Flipkart.com. If the expected title corresponds to the actual title displayed, the console will show the message "Title check passed." As depicted earlier, upon completion of the testing process, the Flipkart window will close automatically.
Now, let’s delve into the process of performing front-end testing using Selenium IDE.
2 – Testing frontend using Selenium IDE
For testing the front end using Selenium IDE, you need to install the Selenium IDE plugin from Selenium.dev/selenium-ide It will get visible in your extensions list once you finish with the download.
firstly we need to create a new project in selenium IDE extension
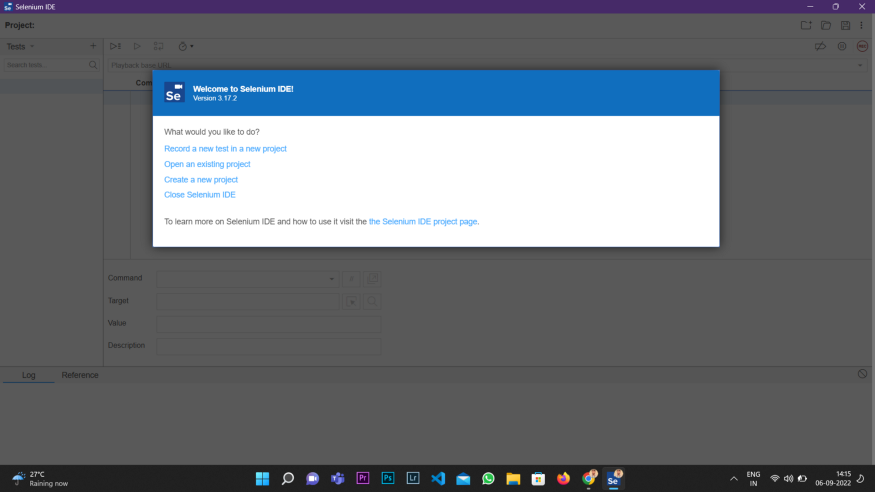
now coming towards further steps
-
Step 1:- Create a test case and rename it accordingly, as I have renamed it as test-1.
-
Step 2:- Put the website URL for testing like I have provided google.com in the URL bar
-
Step 3:- Press the record button for capturing all the actions
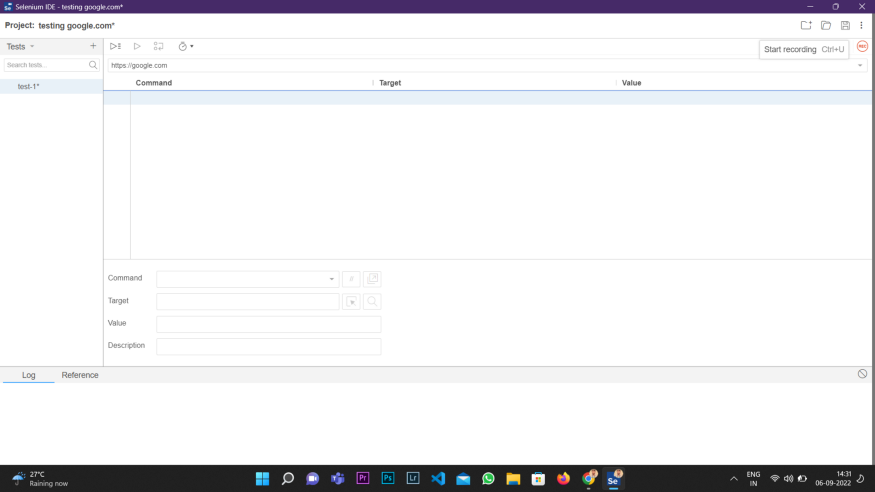
With the usage of automation testing, when we click the record button located in the upper right corner, our browser will automatically open google.com, as we have specified the URL for testing purposes. At this point, you can execute the desired actions on the website, and selenium will capture and store all the actions and corresponding responses that take place at the designated location on the website.
During the process of automation testing, we search for "Ankit" on Google, resulting in several outcomes. Among them, the first result displayed Ankit Tiwari. Subsequently, we navigated to that specific page by clicking on it.
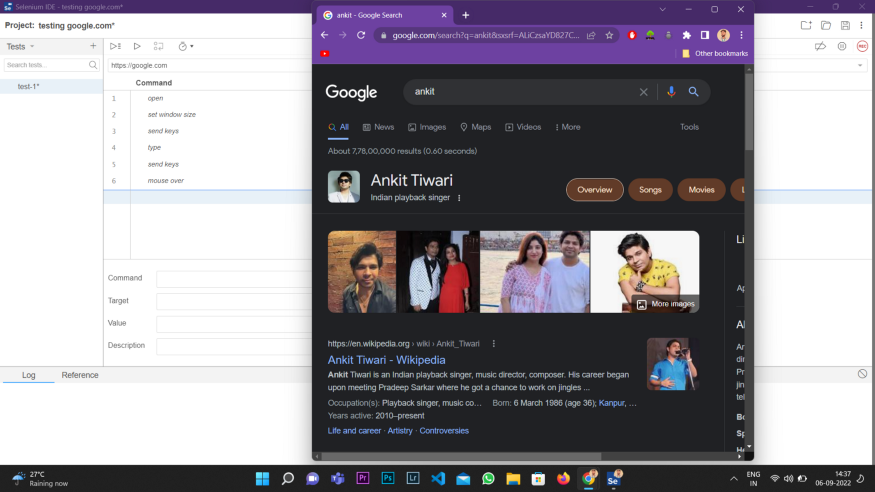
Now we will replay our test cases by pressing the replay button present at the top.
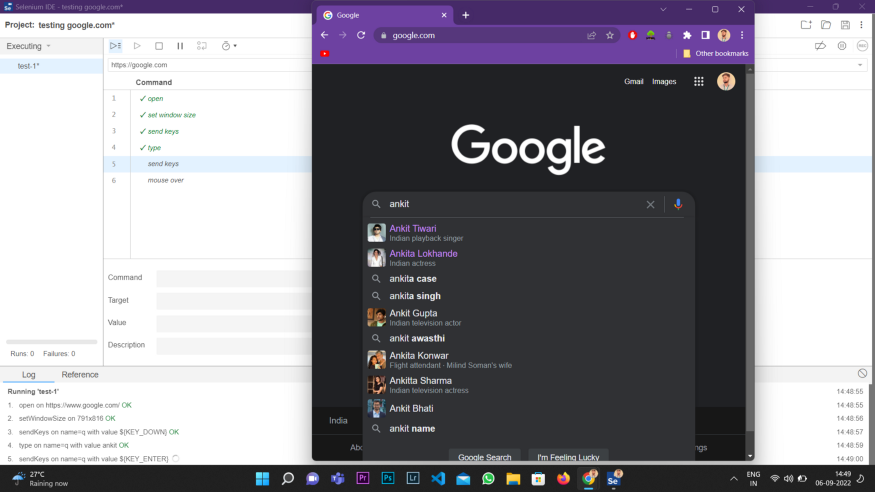
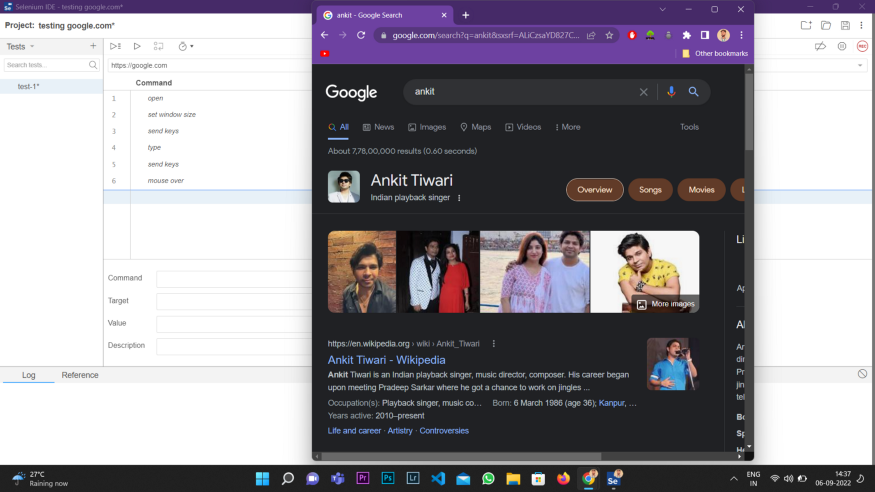
Automation testing entails the usage of complicated tools like Selenium to execute a series of already defined actions repeatively, thereby making the comparison of resultant outcomes with their corresponding recorded counterparts.
This process enables Selenium to generate a comprehensive test coverage report that includes all the verified steps as shown below.
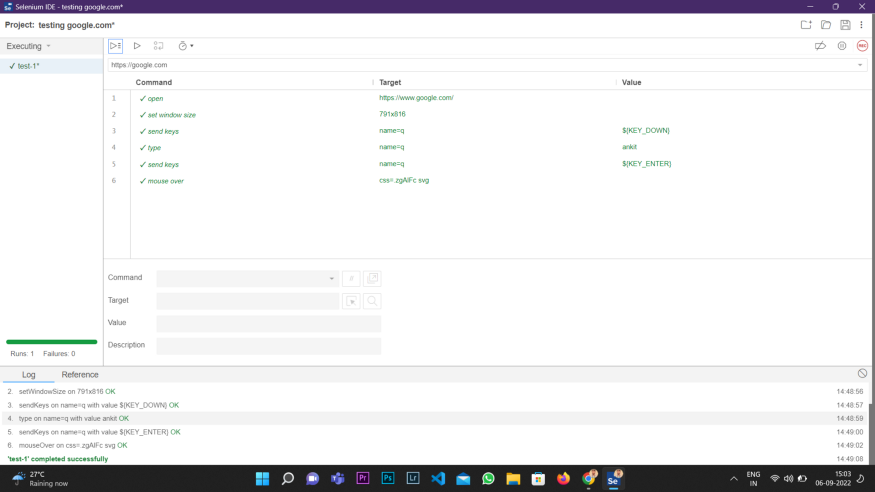
This method entailed a straightforward approach wherein we assessed the user interface’s operational capabilities through the usage of the selenium integrated development environment (IDE).


Leave a Reply