React continues to dominate the front-end development landscape, offering a powerful and flexible library for building modern user interfaces. Whether you’re just getting started or looking to optimize your workflow, this guide will walk you through everything you need to know about running React in Visual Studio Code and online platforms.
For Detailed Guide:- how to run tests in vs code .
Create Your First React Application using Visual Studio Code
Visual Studio Code (VS Code) provides an excellent environment for React development thanks to its robust extension ecosystem and integrated terminal.
Step 1: Install the prerequisites
Before creating a React application, you need to have the following installed:
-
Node.js and npm – React depends on these to run and manage packages.Verify your installation by running these commands in a terminal:
powershell node -v npm -v -
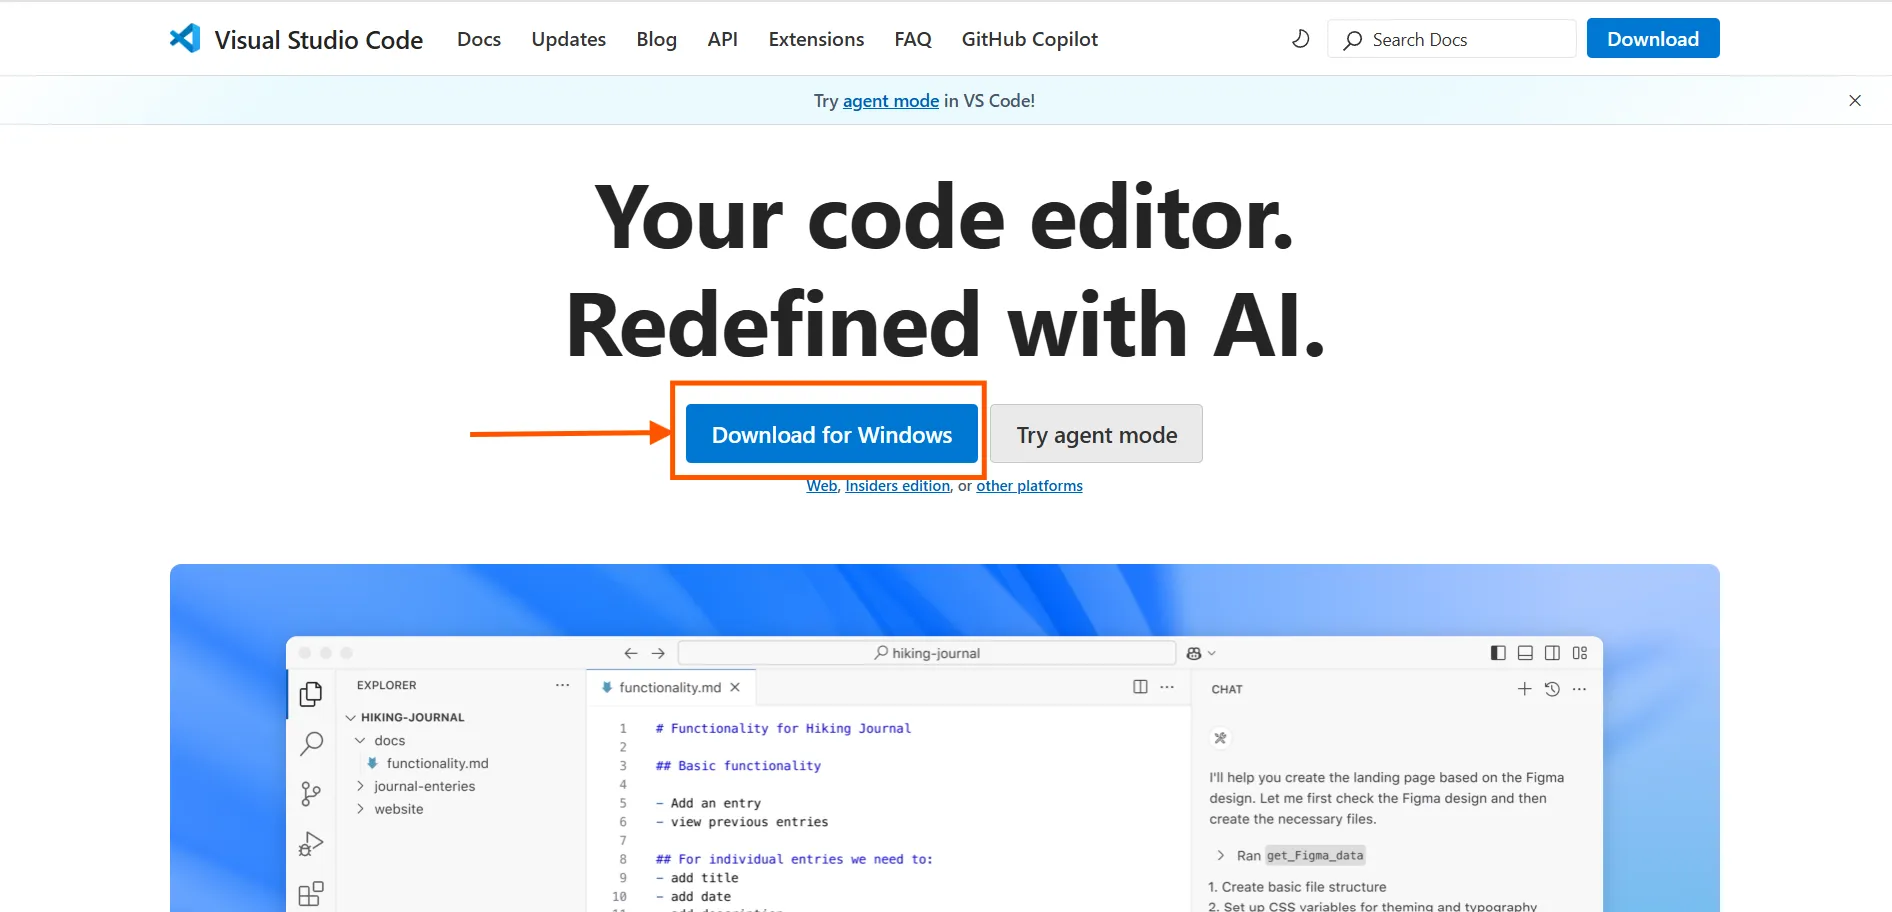
Visual Studio Code – Download and install from the official website.
Step 2: Set up VS Code for React development
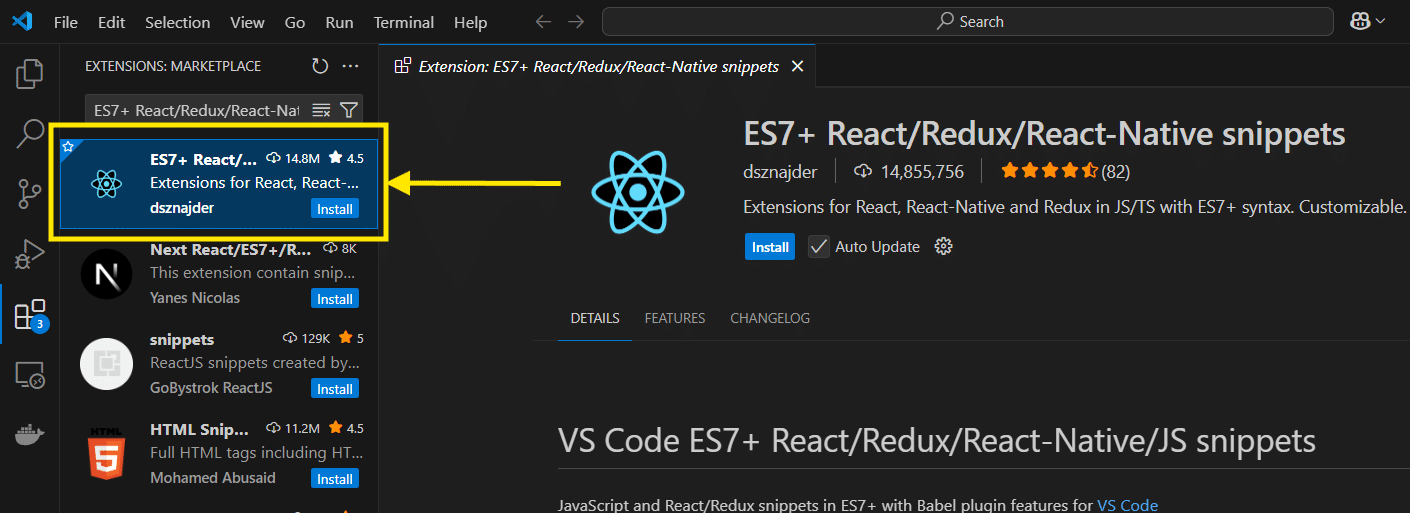
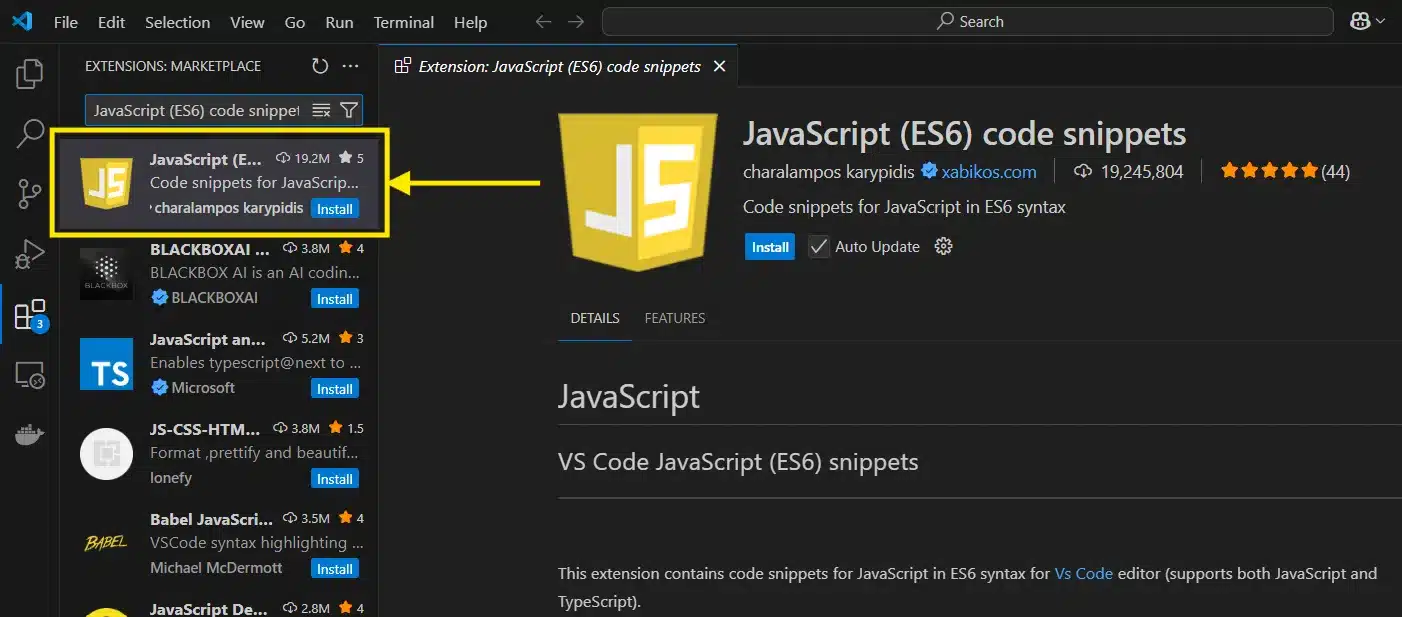
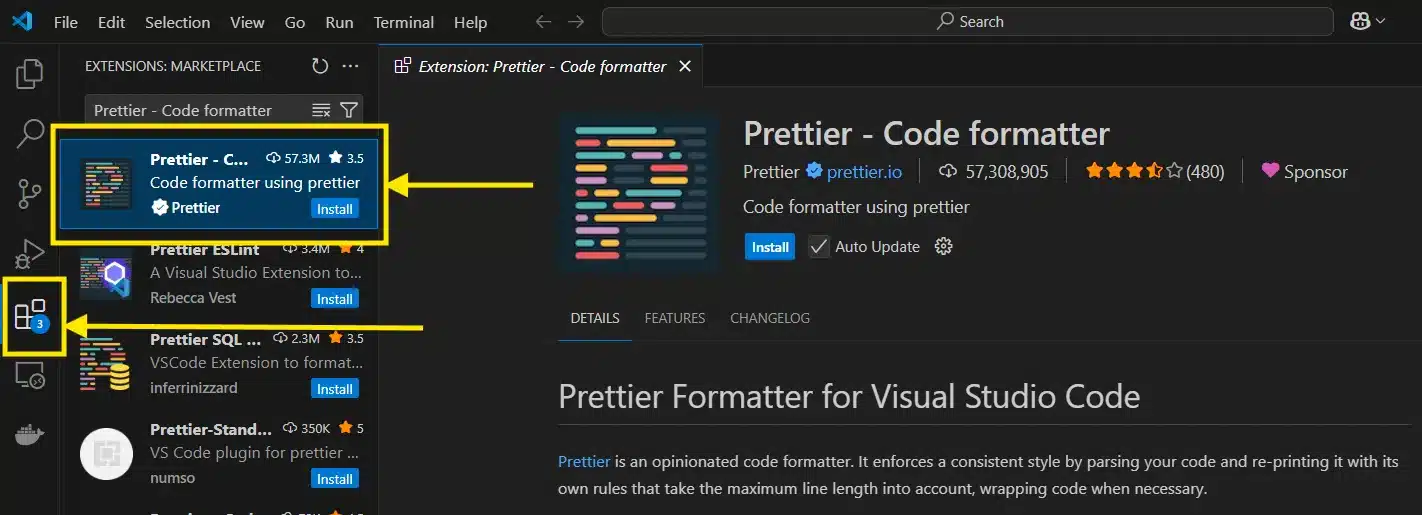
After installing VS Code, enhance your development experience with these essential extensions:
- ES7+ React/Redux/React-Native snippets – For quick React code templates
- JavaScript (ES6) code snippets – Speeds up JS coding
- Prettier – Code formatter – For consistent code formatting
Step 3: Create a new React application
Now you’re ready to create your first React application:
-
Open VS Code
-
Open the integrated terminal (View > Terminal or
Ctrl+` ) -
Navigate to the directory where you want to create your project
-
Run the Create React App command:
powershell
npx create-react-app my-first-react-app
The tool will create a new directory with all the necessary files and dependencies for a React project. This might take a few minutes.
Step 4: Explore the project structure
Once the installation completes, you’ll have a new folder with this structure:
powershell
my-first-react-app/
  ├── node_modules/
  ├── public/
  ├── src/
  │   ├── App.css
  │   ├── App.js
  │   ├── App.test.js
  │   ├── index.css
  │   ├── index.js
  │   ├── logo.svg
  │   ├── reportWebVitals.js
  │   └── setupTests.js
  ├── .gitignore
  ├── package.json
  ├── package-lock.json
  └── README.md
Let’s look at the core files:
-
public/index.html: The HTML template for your app
-
src/index.js: The JavaScript entry point
-
src/App.js: The main React component
-
package.json: Lists dependencies and scripts
How do I start running a React app?
Starting your React app is straightforward once you’ve set up the project.
Step 1: Navigate to your project directory
If you’re not already in your project directory, navigate to it:
powershell
cd my-first-react-app
Step 2: Start the development server
Run the following command to start the development server:
powershell
npm start
This command starts the development server and automatically opens your default browser to http://localhost:3000 where your app is running.
Step 3: Make changes and see live updates
The development server includes hot reloading, which means your app will automatically update when you make changes to the code.
Open src/App.js in VS Code and make a simple change:
javascript
jsxfunction App() {
  return (
    <div className="App">
      <header className="App-header">
        <img src={logo} className="App-logo" alt="logo" />
        <p>
          Hello, React World!
        </p>
      </header>
    </div>
  );
}
Save the file and watch your browser update automatically.
How do I run a command React app?
"Running a command React app" typically refers to using the Create React App CLI commands to perform various operations on your project.
Common Create React App Commands
-
Create a new app
powershell npx create-react-app my-app -
Start the development server
powershell npm start -
Run tests
powershell npm test -
Build for production
powershell
npm run build
This creates an optimized production build in the
buildfolder. -
Eject from Create React App
npm run eject
Using npx for one-off commands
You can also use npx to run packages without installing them globally:
powershell
npx eslint src/ --fix
How do I run the React app in the VS Code terminal?
VS Code’s integrated terminal makes it easy to run your React app without leaving the editor.
Step 1: Open the integrated terminal
There are several ways to open the terminal in VS Code:
-
Press `
Ctrl+“ (backtick) -
Select View > Terminal from the menu
-
Use the keyboard shortcut Ctrl+Shift+` to create a new terminal
Step 2: Navigate to your project directory
If you need to change directories:
powershell
cd path/to/my-react-app
Step 3: Start the development server
Run the start script from your package.json:
powershell
npm start
Step 4: Stop the development server
When you’re done working, you can stop the server by pressing Ctrl+C in the terminal.
Running other scripts
Your package.json file contains various scripts that you can run from the terminal:
powershell
npm test      # Run tests
npm run build # Create production build
npm run eject # Eject from Create React App
React Developer Tools Extension
The React Developer Tools browser extension is essential for debugging and inspecting your React applications.
Installing React Developer Tools
-
For Chrome: Visit the Chrome Web Store and search for "React Developer Tools"
-
For Firefox: Visit Firefox Add-ons and search for "React Developer Tools"
-
For Edge: Visit the Edge Add-ons store and search for "React Developer Tools"
Using React Developer Tools
After installation, you’ll see new tabs in your browser’s developer tools:
-
Components: Inspect the React component tree
-
Profiler: Measure rendering performance
Key features to explore:
-
Component inspection: Click on any component to view its props and state
-
Filtering: Filter components by name
-
Props/State editing: Change values on the fly to test different states
-
Highlighting: Select a component to highlight it in the browser
ESLint and Prettier for Code Quality
Maintaining code quality is crucial for React projects. ESLint helps catch errors and enforce style, while Prettier ensures consistent formatting.
Setting up ESLint in VS Code
-
Install the ESLint extension
-
Install ESLint in your project
npm install eslint --save-dev -
Initialize ESLint configuration
powershell npx eslint --init -
Configure for React Choose options for:
-
JavaScript modules
-
React
-
Browser environment
-
JavaScript config file format
-
Setting up Prettier in VS Code
-
Install the Prettier extension
-
Install Prettier in your project
npm install prettier eslint-config-prettier eslint-plugin-prettier --save-dev -
Create a Prettier configuration file Create
.prettierrcin your project root:javascript json{ "semi": true, "tabWidth": 2, "printWidth": 100, "singleQuote": true, "trailingComma": "all", "jsxBracketSameLine": true } -
Update your ESLint config Add Prettier to your
.eslintrc.js:powershell jsmodule.exports = { // Other ESLint config... extends: [ 'eslint:recommended', 'plugin:react/recommended', 'plugin:prettier/recommended' ], // Other config... }
Setting up Format on Save
-
Open VS Code settings (File > Preferences > Settings)
-
Search for "format on save"
-
Check the box to enable it
Now your code will be automatically formatted when you save it.
How to run React code online?
Running React code online is perfect for quick experiments, learning, or sharing code with others without setting up a local environment.
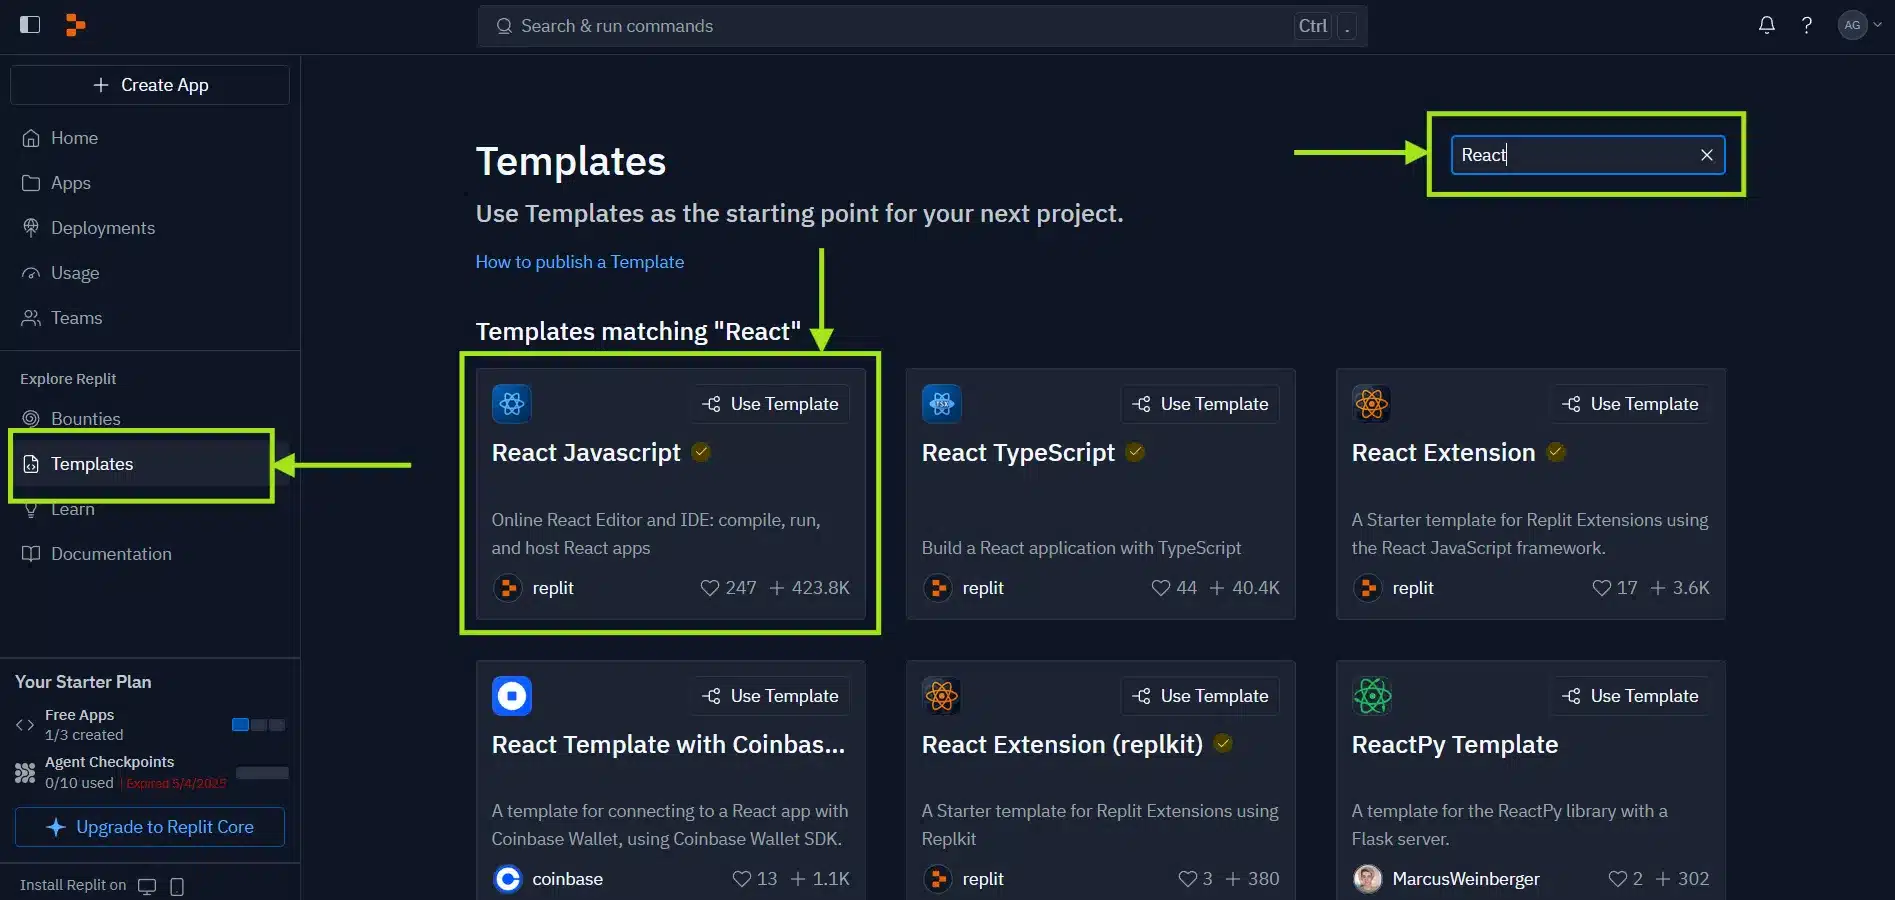
Replit
Replit offers a full development environment in the browser.
Getting Started with Replit:
-
Visit Replit
-
Sign up or log in
-
Click "Create" and select "React.js" template
Features:
-
Full Terminal Access: Run any command in the integrated terminal
-
Hosting: Deploy your app directly from Replit
-
Multiplayer Editing: Collaborate with team members in real-time
-
Versioning: Track changes with built-in version control
CodeSandbox
CodeSandbox is one of the most popular online IDEs for React development.
Getting Started with CodeSandbox:
-
Visit CodeSandbox
-
Click "Create Sandbox"
-
Select "React" from the template options
Features:
-
Live Preview: See your changes instantly
-
NPM Support: Add packages as needed
-
GitHub Integration: Import and export projects to GitHub
-
Collaboration: Share your sandbox with others for real-time collaboration
StackBlitz
StackBlitz is a fast, browser-based IDE built for modern web development, including React.
🔹 Getting Started:
-
Visit stackblitz
-
Click "Create Project" → Choose React
-
Or use
https://stackblitz.com/fork/reactto start quickly
🔹 Features:
-
Instant dev server start-up
-
Real-time preview beside code
-
NPM dependency management
-
Offline support (runs in-browser using WebContainers)
-
GitHub integration
JSFiddle
JSFiddle isn’t React-specific but supports it well with proper setup.
🔹 Getting Started:
-
Visit jsfiddle
-
In the "JavaScript" panel, set the framework to React (Settings → Frameworks)
-
Add
ReactandReactDOMvia CDN
🔹 Features:
-
Easy prototyping
-
Quick sharing via link
-
Basic collaboration
-
Embed anywhere
PlayCode
PlayCode is a fast playground for JavaScript and React code.
🔹 Getting Started:
-
Visit playcode
-
Select “React” playground from templates
🔹 Features:
-
Super fast updates
-
Simple interface
-
Supports NPM packages
-
Great for beginners
CodePen
Popular among designers and developers for quick demos.
🔹 Getting Started:
-
Visit codepen
-
Create a new Pen → Settings → Add React and ReactDOM in JS settings
🔹 Features:
-
Ideal for UI component testing
-
Shareable demos
-
Embed-friendly
-
Huge community showcase
Summary Comparison
| Platform | React Template | Collaboration | GitHub Integration | NPM Support | Live Preview |
|---|---|---|---|---|---|
| Replit | ✅ | ✅ | ✅ | ✅ | ✅ |
| CodeSandbox | ✅ | ✅ | ✅ | ✅ | ✅ |
| StackBlitz | ✅ | ✅ | ✅ | ✅ | ✅ |
| JSFiddle | ⚠️ (manual) | ⚠️ basic | ❌ | ❌ | ✅ |
| PlayCode | ✅ | ❌ | ❌ | ✅ | ✅ |
| CodePen | ⚠️ (manual) | ✅ | ❌ | ❌ | ✅ |
New AI Agent in the Town
- Unit testing agent
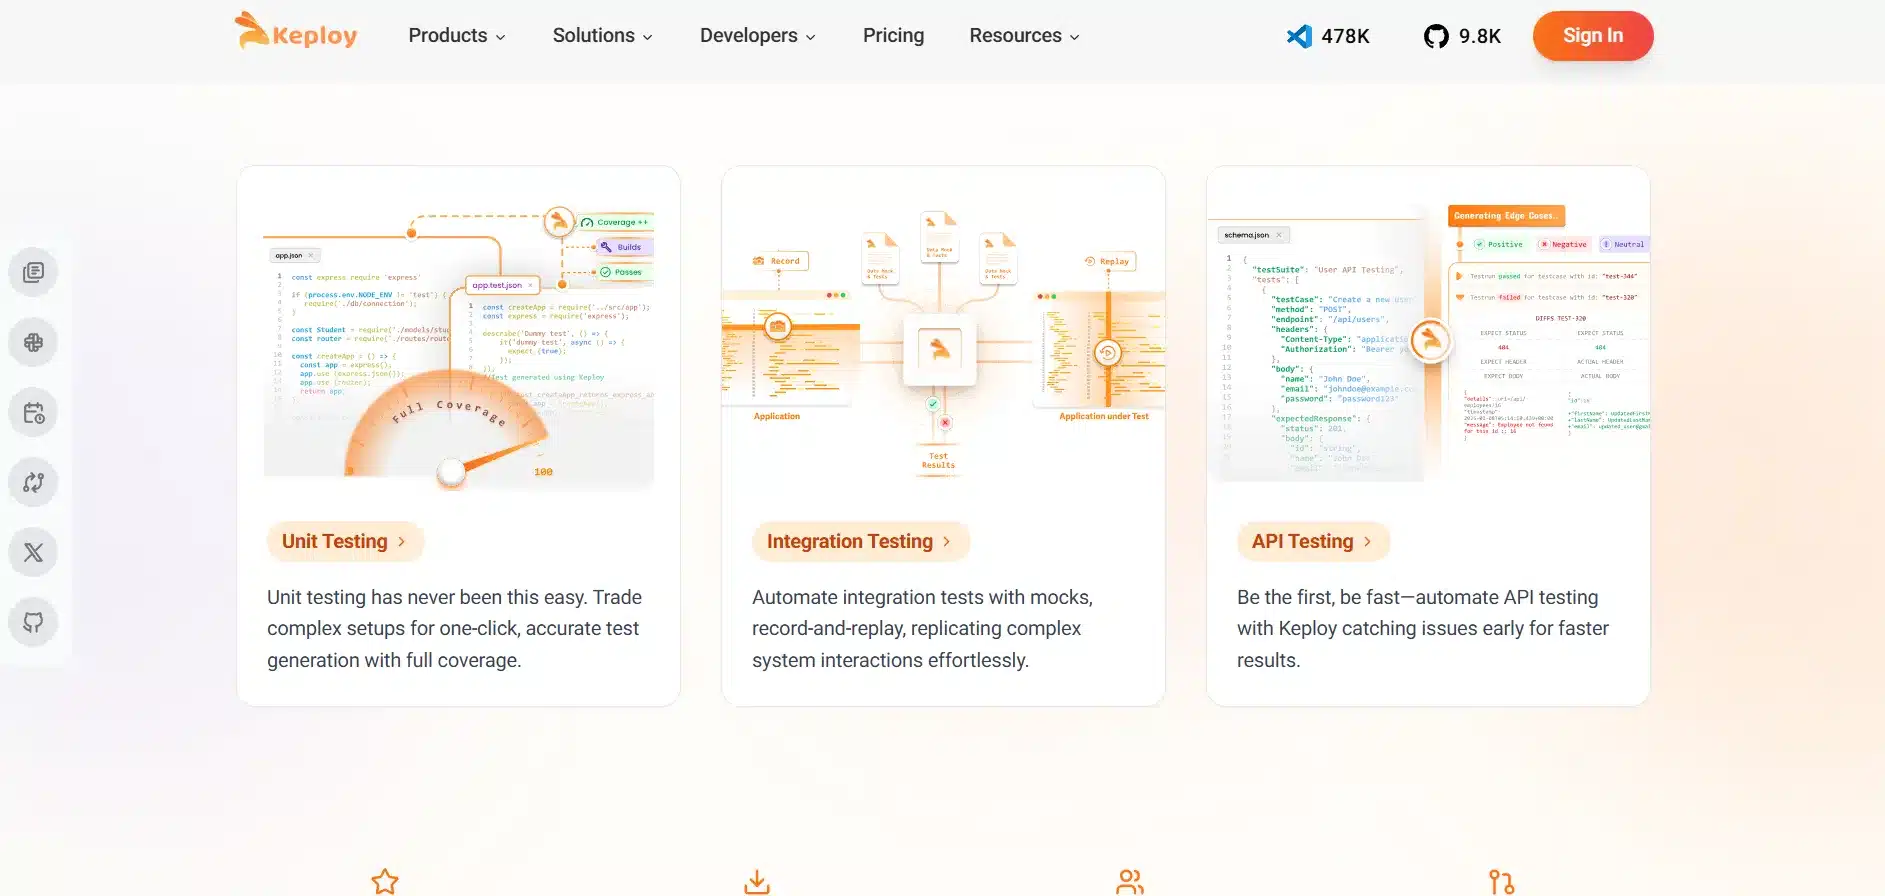
Keploy has recently released a Unit Testing Agent that generates stable, useful unit tests directly in your GitHub PRs, covering exactly what matters. How cool is this? Testing directly in PRs – so developers won’t need to write test cases for their new features. Keploy writes them for you! No noisy stuff – just clean, focused tests targeting the code changes. You can also try this Unit Testing Agent in your VSCode.
2. API testing agent
Instead of writing test cases to test your APIs, what if you provide your schema, API endpoints, and curl commands to an agent, and it generates the test suite and gives you the test reports? Sounds interesting or confusing? Yes, it is possible! Keploy API Testing Agent will do all this without you touching any code.
Not convinced? Just give it a try, and you will really enjoy it.
Conclusion
Visual Studio Code provides a powerful, customizable environment for React development that can significantly boost your productivity. With its integrated terminal, extensions ecosystem, and debugging capabilities, it’s the IDE of choice for many React developers.
For those times when setting up a local environment isn’t practical, online React development platforms offer convenient alternatives. Whether you’re prototyping an idea, collaborating with team members, or simply learning React, these platforms provide the tools you need to code effectively from any device with a browser.
By combining the power of VS Code for serious development work with the convenience of online platforms for quick experiments and sharing, you can create a flexible React development workflow that adapts to your needs.
Remember that the key to becoming proficient with React is practice and experimentation. Don’t be afraid to try different tools and approaches to find what works best for your workflow.
FAQs
1. Do I need to install Node.js to use React?
Yes, Node.js is required for local React development. It provides the npm package manager which is used to install React and its dependencies. However, if you’re using online platforms like CodeSandbox or StackBlitz, you don’t need to install Node.js locally as these platforms provide the necessary environment in the browser.
2. How do I deploy my React application to production?
There are several ways to deploy a React application:
-
Build and host on static hosting services: Run
npm run buildto create a production build, then upload the files from thebuildfolder to services like Netlify, Vercel, or GitHub Pages. -
Continuous deployment: Connect your Git repository to services like Netlify or Vercel for automatic deployments when you push changes.
-
Container-based deployment: Package your app in a Docker container and deploy to services like AWS, Google Cloud, or Azure.
3. Do I still need to write test cases manually if I use Keploy’s Unit and API Testing Agents?
Not at all! Keploy’s Unit Testing Agent automatically generates unit tests directly in your GitHub PRs, targeting exactly the code you’ve changed – so you no longer have to write them manually. Similarly, the API Testing Agent creates test suites and reports just from your API schema, endpoints, and curl commands. You save time, avoid noisy or irrelevant tests, and get clean, actionable test coverage without writing a single line of test code.
4. Can I use TypeScript with React?
Yes, TypeScript works very well with React. To create a new React project with TypeScript:
powershell
bashnpx create-react-app my-app --template typescript
For existing projects, you can add TypeScript by installing:
powershell
bashnpm install --save typescript @types/node @types/react @types/react-dom @types/jest
Then rename your .js files to .tsx (for components) or .ts (for non-component files).
5. Does Keploy help with testing my JavaScript application?
Yes, Keploy can help you test JavaScript applications, especially when it comes to API and integration testing. Keploy captures real API calls during runtime and automatically generates test cases and mocks. This makes it ideal for Node.js/JavaScript backends or services interacting with external APIs and databases. You can also integrate Keploy into your CI pipeline to ensure consistent and reliable test coverage.
🔗 Recommended Blogs on Software Development Tool
1. Best Practices and Tools for Software Unit Testing
This guide explores essential unit testing tools such as Keploy, Jest, and JUnit, highlighting their features and benefits. It also covers proven best practices to improve test reliability, streamline collaboration among developers, and enhance software quality throughout the development lifecycle.
2. Top 7 Test Automation Tools in 2025: Boost Your Software Testing Efficiency
This article provides an overview of each tool’s capabilities and explains how they can help teams accelerate testing cycles, improve accuracy, and deliver high-quality software faster.
3. A Guide To Test Cases In Software Testing
Learn what test cases are, why they matter, and how to create effective ones to ensure your software works flawlessly. This guide covers key components, best practices, and tips for writing clear, comprehensive test cases.
4. Functional Testing: An In-Depth Overview
Explore the fundamentals of functional testing, its importance in verifying software behavior, different types of functional tests, and best practices to ensure your application meets all specified requirements.

Leave a Reply