Constructing software is like creating a house. You certainly wouldn’t want to build your home with any brittle or cracked bricks, right? Similarly, your “bricks” are your code components. By testing each of them individually, you can detect defects sooner rather than later, and there’s less chance of everything collapsing during assembly.
And this is where component testing comes in! Component testing (also known as module testing or unit testing) consists of verifying that each software component behaves as expected before being integrated into the larger system. In this blog, we’ll break down what component testing is, why it’s important, and how to do it effectively.
What is Component Testing?
Component testing, also referred to as module testing or unit-level testing, is all about checking a specific part of your software on its own without involving the rest of the system.
In simple terms, component testing is checking individual segments of your code, one at a time, to ensure they work as intended. Think of your app as a puzzle. Each component can be an individual piece in the puzzle. Before putting the entire puzzle together, you want to make sure each piece fits properly and has no defects.
A component can be something like a function that calculates a value, a method that saves data, or any small piece of code that performs a single task. The purpose of component testing is to find issues early when they can be easily and quickly resolved, rather than finding them after you have built your entire application.
Why is Component Testing Necessary?
Finding a bug in a big app feels like trying to find a needle in a haystack. Component testing helps you avoid this by testing small chunks of your code early before it can become a bigger problem! Here’s why this is so important:
Find bugs early. Testing your components individually allows you to identify problems before they have the chance of creeping into other areas of your app. It’s like seeing a small leak and fixing it before your whole house floods.
Write better code. When you know your code will be tested, it forces you to naturally make it cleaner and easier to understand.
Save time later. Writing tests can feel like a waste of time, but it can save you hours of repeatedly fixing bugs down the road.
Feel more confident. With tests in place, you can change your code without worrying about breaking things. It’s like having a safety net while you walk across a tightrope.
Make your code clearer. Tests help show what your code is meant to do, which is useful for you and your team.
Objective of Component Testing
The primary objective of component testing is to ensure that every small piece of your code is operating as it should. This includes checking it in many different ways to catch errors early. Here is what this includes:
Check that the component works for the expected inputs. You want to check if your code is able to output the desired results when it is fed input that it is supposed to accept. In the case of a calculator function, whether it outputs the correct answers for all different numbers.
Make sure it handles errors and unusual cases properly. There may be times when users or other pieces of your app are feeding your component strange or unexpected inputs. Testing will give you a chance to evaluate how your code copes with these situations, typically without crashing or providing an unexpected result.
Test the internal logic if needed. In certain situations, you may want to look inside the logic in the code and verify that it is handling events step by step, where necessary. This is a good opportunity to catch small mistakes in how the code is written.
See if it connects with other parts correctly. While component testing is focused on one component at a time, you’ll probably want to check that it is sending and receiving things from other components when it is supposed to.
Component Testing Process
Testing your code in small parts does not have to be complex. Here are the steps to test small parts of code, in order:
1. Plan what to test
The first step is to determine which part of your code (the component) you want to test. This step involves ensuring that you have all the necessary tools and data to conduct your testing. Think of this like planning a small task; you want to know what you are testing, and have everything ready to go.
2. Write test cases
Next, think of ways the component might be used. Include regular use and cases where someone is going to give it inputs that are wrong. You should write down what should happen in all of those cases you think of, so you know what to look for when you test.
3. Set up a test environment
Make an area where you can test this part and not affect the rest of your app. Sometimes this means writing small helper programs (drivers and stubs) to help you test this part by itself.
4. Run the tests
Now, try all your test cases. Give the component the inputs you planned and see if the result is what you expected.
5. Note any problems
If it doesn’t work, make a note of what went wrong and what you were expecting to happen. The more detailed and clear you are, the easier it will be.
6. Fix and retest
Once you’ve fixed the bugs, run your tests again to ensure that the problem is fixed and that you didn’t break something else.
Types of Software Component Testing
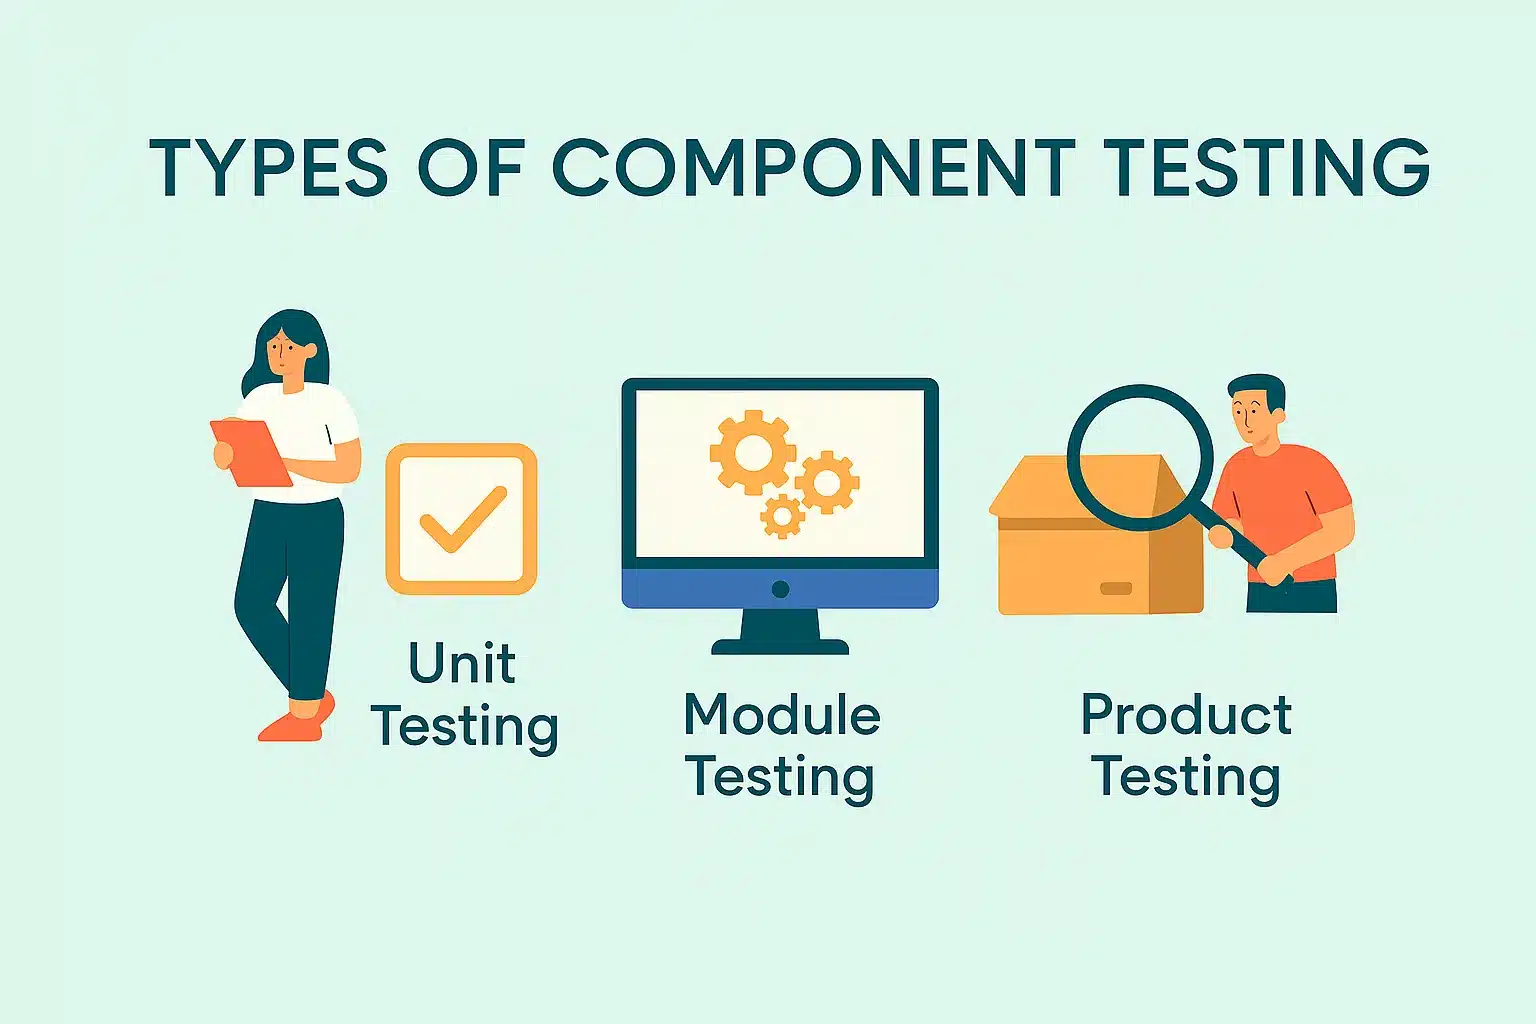
Component testing validates separate parts of a given system before integration. This testing generally consists of unit testing, module testing, and program testing.
1. Unit Testing
Unit testing validates the smallest units of code, e.g., functions/methods. Hence, it confirms that each of these pieces of code works as intended by itself. For example, it may validate a method that calculates the area of a rectangle by checking that it provides the intended results for different inputs.
2. Module Testing
Module testing validates several related units as one. The parts being validated are separate units, but usually exist in the same file or class. For example, an authentication module can be tested for login, logout, reset password, etc.
3. Program Testing
Program testing validates a very small application (or microservice) before deploying it to a bigger application; it usually does not consist of any UI or other dependency on a bigger system. For example, testing a payment service to ensure payments are handled correctly prior to being integrated into the larger application.
Is component testing the same as unit testing?
Not entirely, but they are very similar and often confused.
Unit testing is only concerned about implementing tests for the smallest pieces of code, such as single functions or methods, in complete isolation; there are no dependencies whatsoever.
By contrast, component testing tests slightly larger pieces of the system, such as classes, modules, or components, where there may be internal interactions with a dependency or for which simple stubs/mocks are acceptable for their immediate dependencies.
| Aspect | Unit Testing | Component Testing |
|---|---|---|
| What it tests | Smallest parts (functions, methods) | Groups of parts working together (modules) |
| Goal | Check if each small piece works correctly | Check if the combined parts work well together |
| Dependencies | No dependencies — tests are isolated | May use stubs or drivers for missing pieces |
| Speed | Very fast | A bit slower, tests bigger parts |
| Example | A sum() function |
A payment module |
Component Testing Techniques
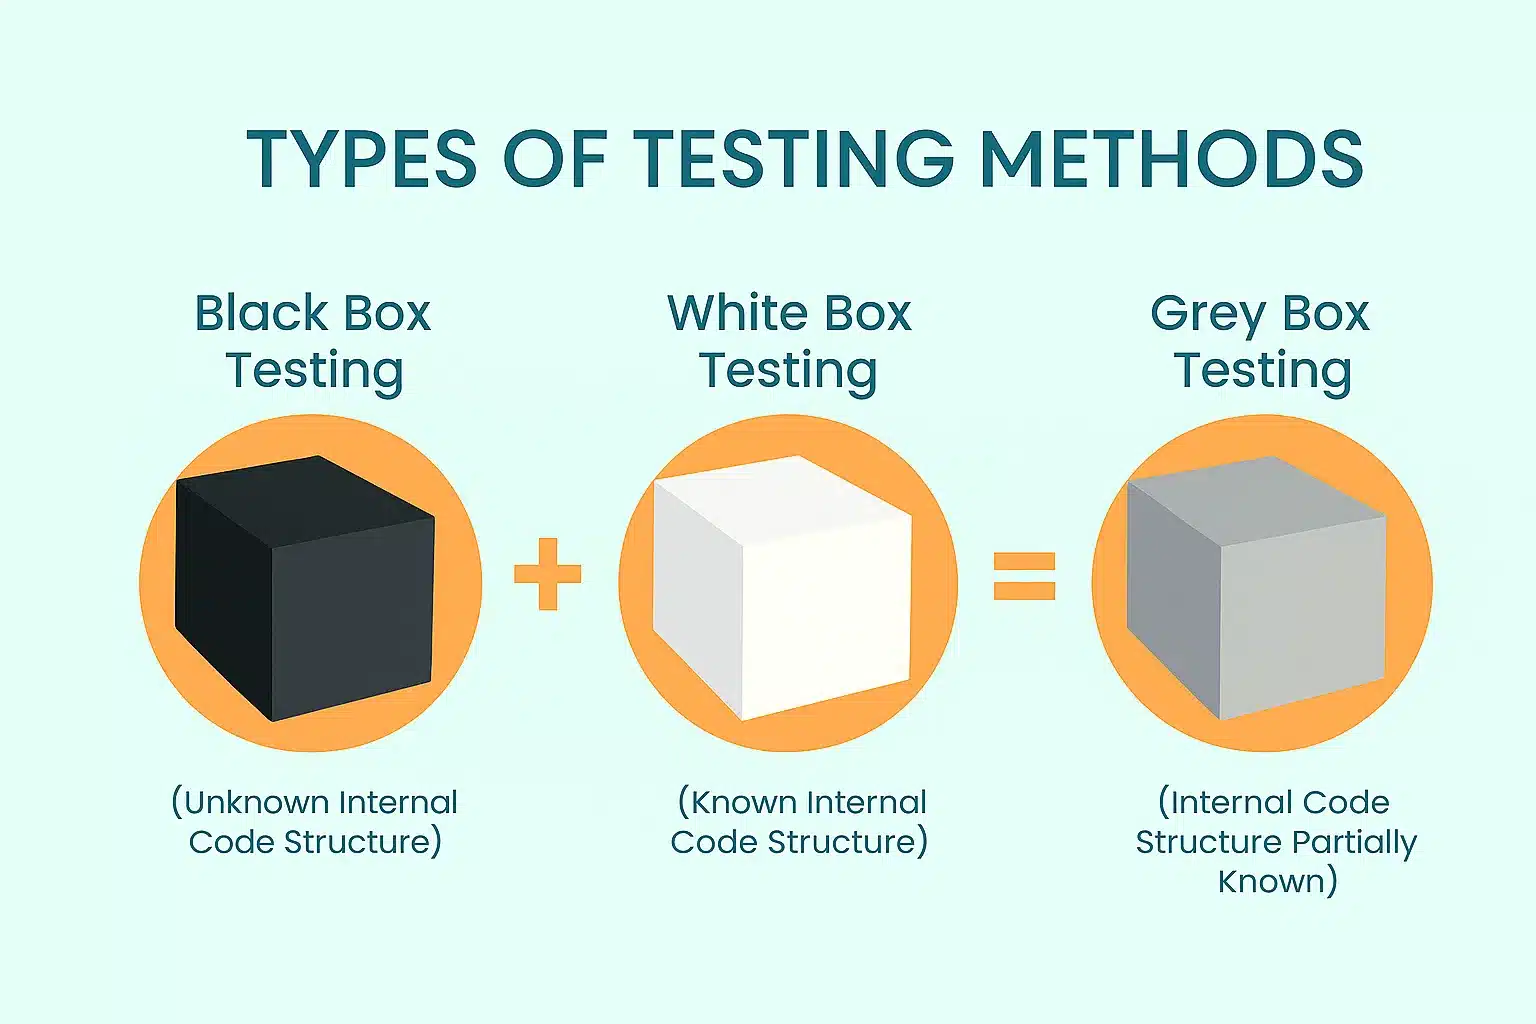
There are three general methods for testing a component:
1. Black-box testing. In black-box testing, you do not look inside the code for the component at all; you only care what comes in ( the input) and what comes out (the output). It is like using a coffee machine; you just press the button and expect the coffee to come out.
2. White-box testing. In white-box testing, you look inside the code and see how it works step by step. You look at each decision or path that the code could take to verify that it was all coded correctly. It is like taking the coffee machine apart to check that the water flows in the right direction or that the heating part of the machine is working properly. White-box testing allows you to find problems in the logic of the code.
3. Gray-box testing. Gray-box testing, in many ways, falls in the middle. You have some (possibly) knowledge of how the code works, and you use that knowledge to design better tests. You may not check every branch of the code (i.e., check all the code flow), but know enough to test the more complicated sections of code better (ex., know enough to still get confused by the decided coffee machine.
Strategies for Effective Component Testing
If you want your component tests to be of real assistance (and not just something to do to check another box), here are some intelligent guidelines to employ:
1. Test early and often. Do not wait to test at the end of an app’s development. The best time to test a component is right after you have developed it. This allows you to catch mistakes early when they are easier and faster to fix.
2. Automate your tests. Testing everything manually can be time-consuming and prone to error. Automated testing tools, such as JUnit (Java), pytest (Python), or Jest (JavaScript), allow you to easily run your tests and repeat them ad infinitum when you change code.
3. Use mocks, stubs, or fakes. Your component may depend on other parts of the system, such as a database or another service. Instead of using the actual thing in your test, use a mock, stub, or fake instead. These are simplified, fake versions of those other parts, which will allow you to test your component in isolation. This will keep your tests fast and reliable.
4. Test more than the happy path. Don’t just test scenarios where everything works as you expect. Also test scenarios with edge cases (odd inputs), error conditions (incorrect or missing inputs), and boundary values (like the smallest or largest allowed input). This helps to ensure that your component is ready for anything.
Drivers and Stubs in Component Testing
When testing a single component, it often depends on other parts of your system that may not exist yet. When it’s time to test your component by itself, drivers and stubs can be used. These are simple helper programs that allow you to test in isolation.
Driver:
A driver is simply a small snippet of code that invokes a component you want to test. It can be thought of as a fake program that activates your component as if it were a part of the complete system. For example, if you were testing a function that calculates tax, your driver might be a small script that sends different values to that function and prints the results.
Stub:
A stub is simply a small snippet of code that mimics a part that your component calls. It gives simple, predetermined responses so you don’t have to worry about the real thing while testing your component. For example, if your component pulls data from a database, your stub could return hardcoded data, so no actual database call is made.
Why do we use them?
-
To test components before they are used in other parts of the app, to be ready
-
To control the environment and input, so you don’t get as much variability when testing in an app.
-
To make tests faster by not relying on things like real databases or external systems.
How is Component Testing Performed?
Component testing strategy helps to confirm that each part of your application is doing what it should be doing before you use the component in a larger part. Rather than testing a complete system, you are testing one section of code. Below is a typical process:
1. Write Clear and Focused Test Cases
You should begin by writing tests that simply confirm that your component does what it was supposed to do. You will want to think about all the situations in which your component may be applied. This includes standard values, edge cases, and extreme values etc. Also, consider if things are done incorrectly, and include test cases where no values are provided, or values are missing.
Example: A login component that checks the username and password
python
def authenticate_user(username, password):
    dummy_user_db = {
        "alice": "password123",
        "bob": "securepass",
        "charlie": "charlie123"
    }

    if username in dummy_user_db and dummy_user_db[username] == password:
        return "Login successful"
    else:
        return "Invalid credentials"
Test cases:
python
def test_valid_credentials():
    assert authenticate_user("alice", "password123") == "Login successful"

def test_invalid_password():
    assert authenticate_user("bob", "wrongpass") == "Invalid credentials"

def test_unknown_user():
    assert authenticate_user("dave", "password123") == "Invalid credentials"

def test_empty_inputs():
    assert authenticate_user("", "") == "Invalid credentials"
These tests check how the component reacts to different situations. Each one focuses on a small, clear condition.
2. Use Drivers and Stubs if Needed
There may be times when your component depends on other parts of the program that are not yet completed. When this happens, you can use drivers and stubs.
-
A driver is a simple piece of code that allows you to run or trigger the component you are testing.
-
A stub is a fake implementation of another part of the program that your component depends on. It has hard-coded responses so you can test your component without containing the real thing.
Example: A greeting component that uses a stub
python
def greet_user(name_provider):
    name = name_provider.get_name()
    return f"Hello, {name}!"
python
class NameProviderStub:
def get_name(self):
return "Alice"python
def test_greet_user():
stub = NameProviderStub()
assert greet_user(stub) == "Hello, Alice!"Here, the stub makes sure we do not need a real database or service to get the name. The component can be tested on its own.
3. Run the Tests
Once your test cases and helpers are ready, run your tests. You can do this manually or use a tool like pytest (Python), JUnit (Java), or Jest (JavaScript), which makes executing tests and getting results easy.
These tools will let you know if your component passes or fails the tests. If something is not right, they will lead you to the source of the issue.
4. Review the Results and Fix Any Issues
Examine the test results carefully. If a test failed, try to ascertain why. The component may not have handled certain cases as it should have. After correcting the code, run the tests again to ensure that everything is working correctly.
5. Automate the Tests
Once your tests are working properly, you can introduce them into your development workflow. Your tests will now run every time you or your team make an update to the code, providing easy access to catching issues early and keeping your project stable.
Example for Component Testing
Let us say you are building a shopping cart. You want to test whether the component that calculates the total price works correctly. It also uses a discount service, but for testing, you can replace it with a simple stub.
python
class DiscountServiceStub:
    def get_discount(self):
        return 20  # fixed discount
python
class Order:
def __init__(self, items, discount_service=None):
self.items = items
self.discount_service = discount_service
def total_price(self):
total = sum(item['price'] * item['quantity'] for item in self.items)
if self.discount_service:
total -= self.discount_service.get_discount()
return totalTest for this component:
python
def test_order_total_price_with_discount():
    items = [{'price': 100, 'quantity': 2}, {'price': 50, 'quantity': 1}]
    discount_stub = DiscountServiceStub()
    order = Order(items, discount_stub)
    assert order.total_price() == (100*2 + 50) - 20  # Expect 230
In this example, you are testing a real piece of your application logic. Even though it depends on a discount service, you can easily test it by substituting the discount service portion with a simple stub. This power of isolation is what component testing is all about: testing just one part of your code in a clean, manageable way.
Advantages and Limitations of Component Testing
Advantages
-
Catches bugs early. By testing small parts of your code as soon as you write it, you spot mistakes before they spread and affect different parts of the system.
-
Supports clean, modular design. Knowing that every component will be checked encourages you to write narrow, focused code, resulting in a cleaner, more readable structure.
-
Easier to debug and maintain. When a test fails, it’s very easy to identify the problem, since you’re only able to worry about a small section of code, which makes it easy for you to find the bug and fix the code.
-
Faster feedback while developing. Component tests are lightweight and execute in almost no time at all, which offers immediate feedback to confirm that the new code behaves correctly.
Limitations
-
Doesn’t test how components work together. Component testing checks individual pieces, but it doesn’t show whether those components will work when integrated. Integration testing is used to test that.
-
Can’t identify system-level problems. Component tests won’t expose performance issues or odd behavior where many components are cooperating at once. Think of system-level tests here instead.
-
Writing drivers and stubs takes time. The time taken to write extra code (such as drivers and stubs) is necessary so you can test a component independently. Creating and maintaining these drivers and stubs takes time.
How does Keploy help you test your components?
Keploy is an open-source testing tool that helps automate and simplify component testing by turning real user interactions into useful, repeatable tests. Here are some of the ways it assists in component testing:
1. Creates tests from real traffic
Keploy captures the true API calls made as your application is running, and then uses that information to automatically create test cases. With this method, you can be confident that your tests represent how your components will be deployed in the real world.
2. Creates mocks and stubs for dependencies
If your component requires dependencies from external services, such as a database or an API, Keploy will automatically create mocks and/or stubs. This means that you can test components in isolation, without having to manually express these dependencies.
3. Provides stable, repeatable tests
Keploy helps you create deterministic tests, tests that will give you the same outcome every time. This avoids random failure, but they will either be in data or timing, which means you can trust the integrity of your tests.
4. Integrates with popular languages and frameworks
Keploy is designed to work with the tools you are already using, such as JUnit (Java), pytest (Python), Jest (Node.js), Go testing frameworks, and more! This means you can place Keploy-generated tests along with your current test suite with no problems!
5. Captures interactions without additional code
Keploy makes use of technologies such as eBPF to observe API calls and dependency interactions without needing to alter any of your application code, keeping your app clean, yet it can still get testing data from it!
To know more about Keploy: https://keploy.io/docs/
Challenges in Component Testing
1. Stubs and drivers require extra effort
When you are building a component that depends on other parts of the system, such as an external API or a database, you will probably be required to write some extra code, called stubs or drivers, to simulate that part of the system. If the component you are testing is simple, then writing a stub or driver is often a simple task. However, with complex systems, which often have many dependencies, writing these can be time-consuming, and often, you may not get it right.
2. Tests can become outdated
As your application evolves, you may update or replace your components. Your tests must also change. If you do not change your tests, they may fail for no reason or miss new bugs.
3. Difficult to isolate tightly connected components
Sometimes components are designed to be dependent on each other. This can be complicated to test just one part by itself. It often results in unit testing more than one component at a time, which negates the purpose of unit testing the component in isolation.
4. Testing UI and async behavior is challenging
Components that depend on updating the UI or waiting on payment terms for REST APIs require additional testing, due to timing and user interaction.
Best Practices for Component Testing
To ensure success and good management in component testing and to support component testing being completed well, there are some helpful practices:
1. Keep tests small and narrow
Keep in mind that each test should generally check for a single behaviour or case. If a test fails, it is much easier to determine what went wrong in the failure of the test.
2. Use clear and meaningful test names
The name of the test should clearly state exactly what is being checked. It means you can quickly understand what failed and why in the test results.
3. Make tests independent of each other
One test should not depend on another test to be run first. If a test fails, then it should not also cause other tests to fail. This helps keep reliability in your test suite.
4. Include component tests in your CI/CD pipeline
Automate your tests so that each time you make a change or deploy your app, they get run. This will help catch problems earlier and save time sending out updates to your users.
5. Update and refactor tests as your code changes
Just like your application code, your tests will change. Remove tests you are no longer using and update tests that you are still using when you change your components, so they are useful and do not block progress.
Conclusion
Component testing is pretty much testing on a single unit of your software. By testing components separately, you will recognize issues much sooner in the process and before any problems affect other parts of your application. This allows you to create more robust and cleaner code.
Using the Keploy tool makes it easier to do component testing. Keploy will create tests and mocks that derive from the ways real users use your app automatically, allowing you to spend less time writing tests and more time building features without worry. In summary, good component testing and effective tools such as Keploy can help you deliver better software, faster.
Related Resource
Looking to go beyond individual component tests? Check out our detailed guide on component integration testing — including key methods, benefits, and real-world challenges.
FAQs
1. Is component testing the same as unit testing?
You may be tempted to rely on just integration and system tests, but not testing components can be risky. Integration and system tests help you confirm that components work together, but they do not reveal problems occurring inside those individual components.
Bugs in tiny parts of your code can escape your attention without component tests and manifest themselves as little confounding quirks at the higher levels of your code, which is both harder and more time-consuming to trace and fix.
So overall, integration tests tell you there is an issue; component tests tell you exactly which issue and why.
2. Do I always have to use drivers or stubs for component testing?
No, you don’t need them all the time. Drivers and stubs are fake pieces you need to add when the real ones aren’t finished yet.
-
A driver is something you make to start or execute the component you want to test.
-
A stub is something you create that represents a dependent piece of the component (like a database or external service).
You only use those if you’re testing your component before the rest of the application surrounding it is either ready or able to connect.
3. Can I automate my component tests, or do I have to check them by hand every time?
You can and should automate them! Writing tests manually and running them manually is overly time-consuming, and you risk missing something. Automating the test run means the computer runs the tests for you. There are lots of tools that can automate this task:
-
If you write code in Java, then you can try JUnit.
-
If you use the Python programming language, then try pytest.
-
If you are developing with Node.js, Jest would be a good Library to use.
-
If you are writing code in Go, then the language includes testing tools.
And if you want to save yourself even more time, there may be tools like Keploy, which create tests for you, tracking how your app is actually being used!
4. How do you handle database dependencies in component testing?
If your component is dependent on a database, you do not want to connect to the real database every time you do tests. You can use an in-memory database (a fast database, usually temporary, that you can run while your test is running), or you can mock the database. What I mean by "mocking" is that you could use different tools that pretend to be a database for your component tests. Typically, using tools like Keploy can record once what the real database does and replay it during tests, meaning you do not need to hit the database every single time.
5. Why should I use Keploy for component testing?
Keploy helps by watching how your app is actually used, for example, which API calls or database queries take place, and automatically creates tests based on actual human activity. Keploy also exposes how your app communicates with resources like the database and other services and creates mocks (stand-ins for those outside systems). You avoid a lot of test code writing with all those things. What you end up with is tests that are much more aligned to the behavior of real users, allowing you to concentrate on building the app.

Leave a Reply