Did you know that almost 80% of failures in performance testing are related to missing basic pre-validation steps before performance testing is done? In the race to meet release dates, many development teams jump into performance testing without knowing that the system is ready for performance testing. The consequences of performance test preparation include inaccurate metrics, wasted infrastructure costs, and inaccurate conclusions relayed around an application’s ability to scale.
This mistake brings to light a bigger issue that often happens with performance testing, that is, a structured pre-test validation process is required to be used to test and measure reliable performance results. This is what a sanity checklist is meant to do for teams – a lightweight process to help a team validate that the system is stable, configuration is following plans and the environment is properly configured to start spending time and resources running an actual load test.
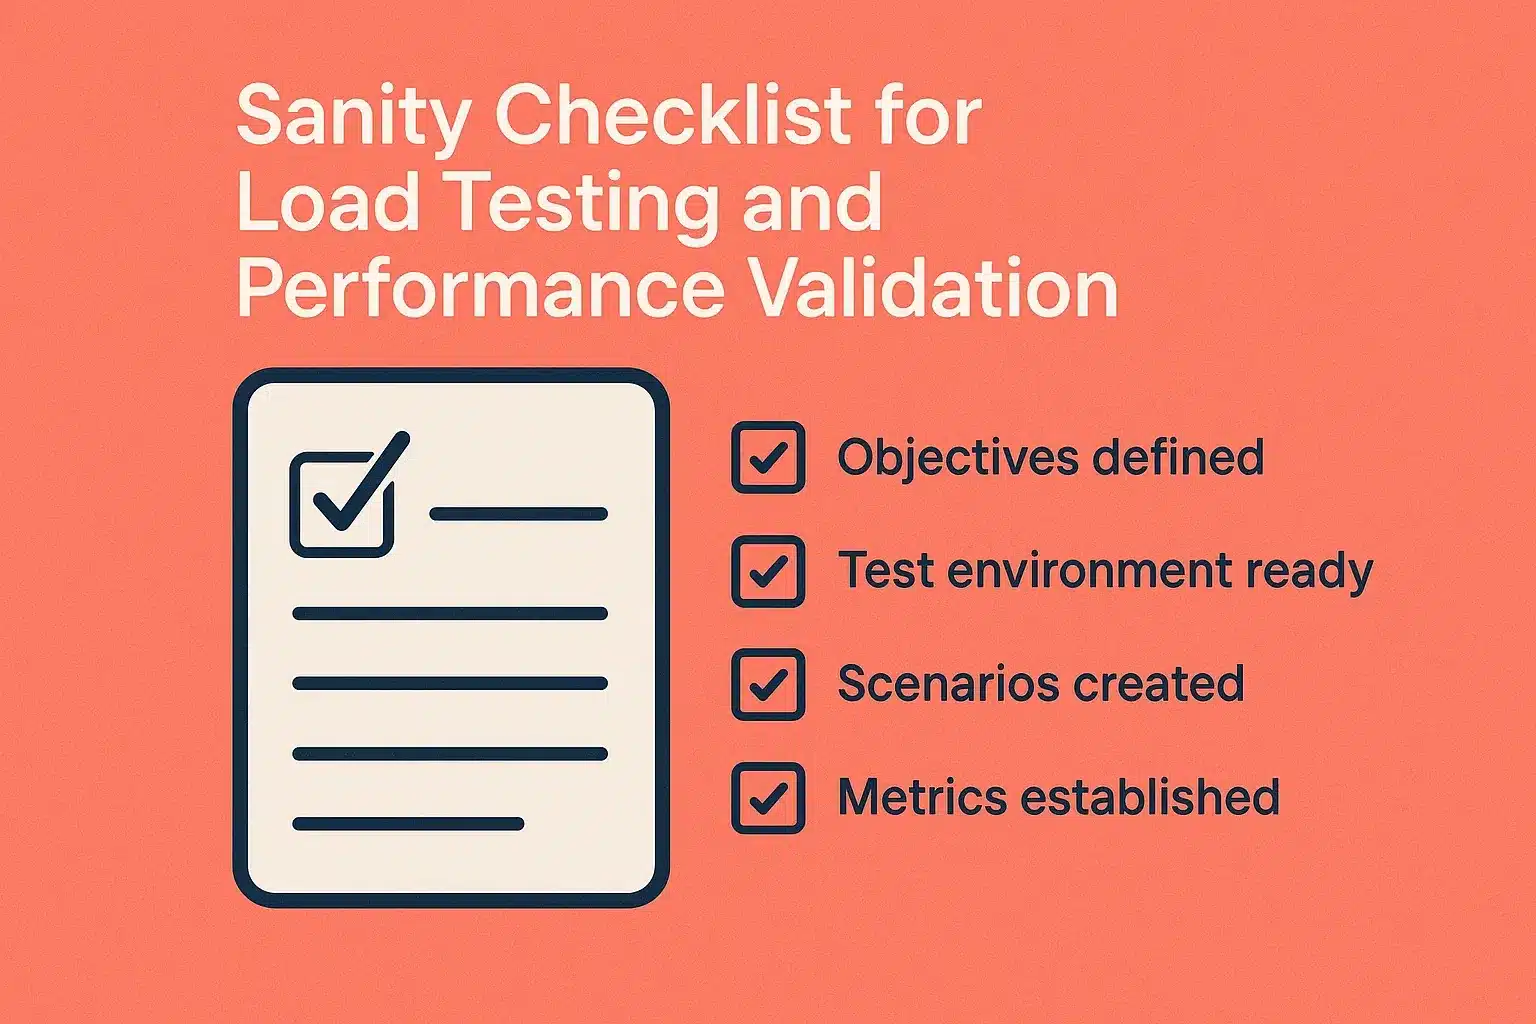
Why You Need a Sanity Checklist Before Load Testing
Testing for load and performance consumes many resources. Testing on a failing build is a waste of time and can produce erroneous results. That’s why it’s important to understand what is sanity testing — a focused testing approach that ensures key functionalities are working before deeper performance or load tests are executed. A sanity checklist will serve as your first line of defense against the issues described above.
Benefits of a sanity checklist include:
Detect same simple errors earlier – An incorrect config value, an unstable dependency, and/or a broken endpoint could be easily discovered before the load test.
Time optimization – Avoid reruns of heavy load scripts due to environment instability.
Correct Test Outputs – Verify that the performance data you are relying on reflects actual behavior of the system rather than configuration or integration issues.
Confidence in readiness – Teams are able to move on to testing knowing that the basic system checks have passed.
When you include a well-maintained sanity testing checklist into your CI/CD pipeline, you will avoid false negatives and gain confidence in the performance potential of each build.
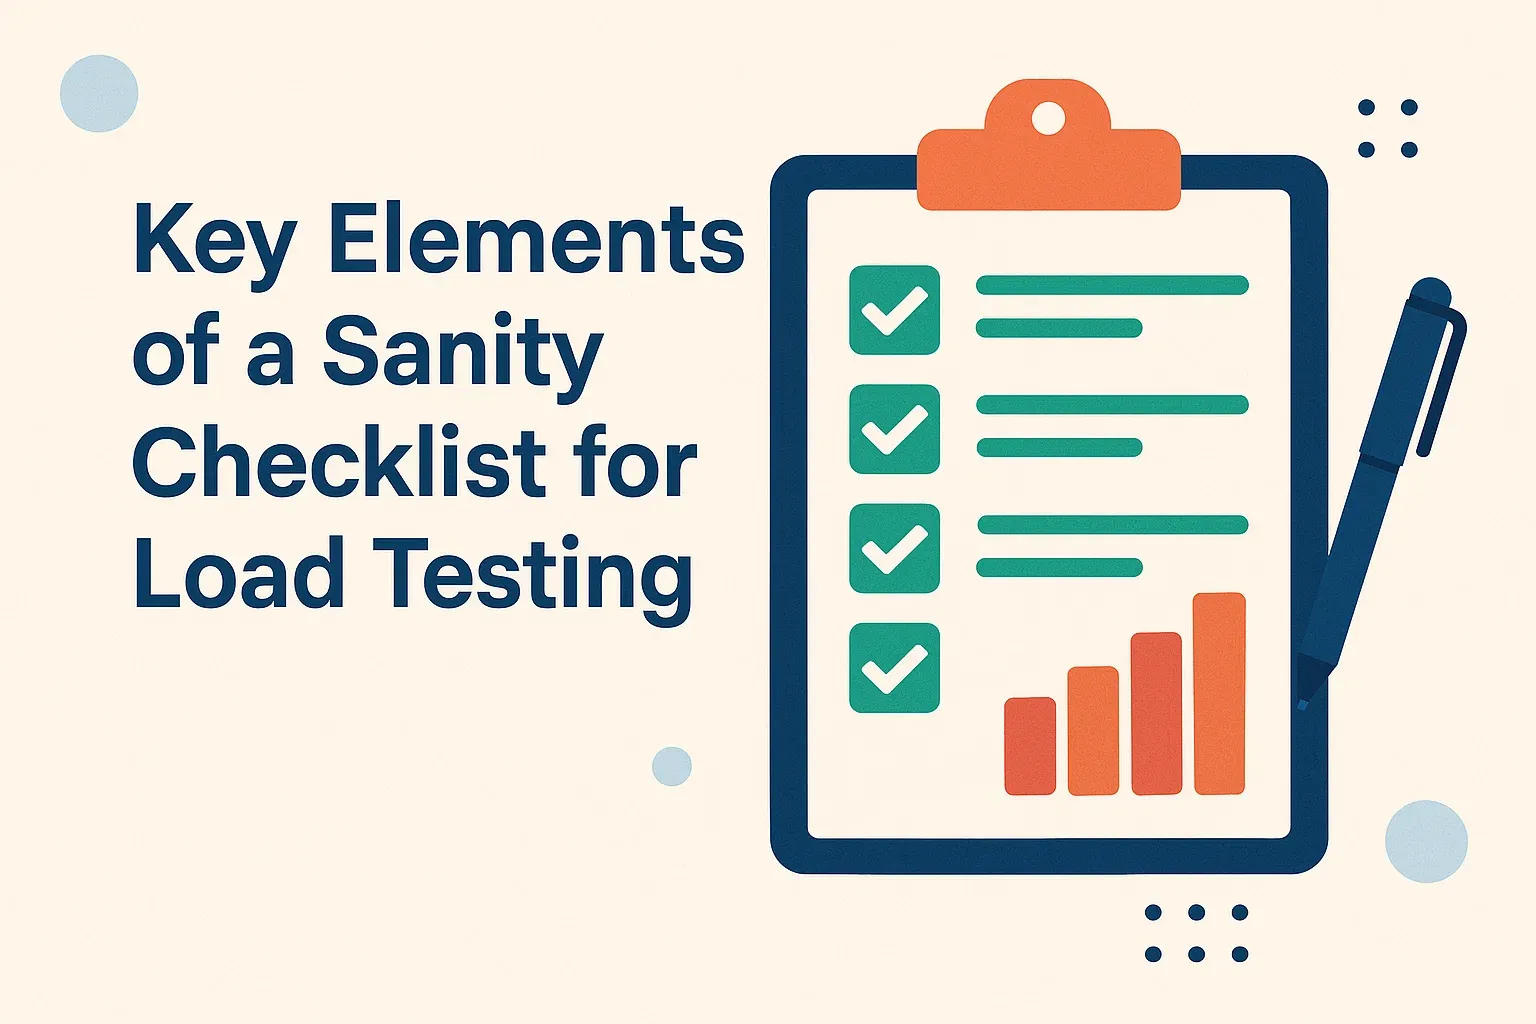
Key Elements of a Sanity Checklist for Load Testing
A sanity checklist for load and performance validation could include the following categories: environment setup, data readiness, configuration validation, system health, and test scope validation.
1. Environment Readiness
Prior to conducting any performance testing, verify the test environment is configured to be as similar to the production environment as possible. Your checklist consists of:
Infrastructural availability: Are all of the servers, containers and services running and available?
Resource configuration: CPU, memory and network bandwidth allocations.
Network communication: Internal and external communication between components.
Dependency health: Are all databases, APIs, queues, etc. running and available?
Baseline monitoring setup: Whatever monitoring tool you are using (Prometheus, Grafana or monitors integrated with Keploy) is configured to collect test metrics during test execution.
If your environment is different than production, even significantly different, your environment may not truly be indicative of actual performance applicability.
2. Application Sanity Checks
Before increasing the load, you must check that the core application works correctly in a normal state. This step ensures that you don’t explicitly test a broken or unstable build.
Smoke / sanity verification: Confirm that all critical user flows (login, checkout, API requests, etc.) work as expected and do not fail.
Error logs: Verify that no exceptions (/anomalies) have occurred in the logs that could indicate something is wrong ahead of time.
Latency / response time sanity: Send lightweight requests to determine the average response time prior to load.
Functional API validation: Make sure all API endpoints respond appropriately and return the expected schema through testing with Keploy’s API (functional testing is still important).
Caching / sessions: Check that expected caching (Redis, CDN, etc.) is working as expected.
Using platforms like Keploy allows you to verify sanity quickly because these platforms can generate test cases from real traffic, alleviating the need to manually write test scripts. This saves you time, and the test fidelity is guaranteed to live production behaviors.
3. Data Validation Checklist
Performance testing depends heavily on valid and representative data. A sanity checklist must confirm that the data used is both complete and consistent.
Database sanity: Check table integrity, indexes, and relationships.
Test data realism: Ensure the dataset mirrors actual usage patterns.
Cache consistency: Check that the cached data matches the state of the database.
Data isolation: Use distinct datasets for distinct test types to minimize issues with contamination.
Rollback functionality: Make sure you can restore the original database or data state after tests.
Keploy’s record play functionality can help create realistic datasets based on real API calls to ensure your performance tests are executed against real-world conditions.
4. Configuration and Version Control Checks
Configuration mismatches are a common cause of failed load tests. Your sanity testing checklist should confirm:
Environment variables: Confirm that all appropriate keys and tokens are set up.
Feature flags: Ensure relevant test plan features are on/off.
Version consistency: The version exposed in testing should match the planned released version’s tag.
Dependency versions: Check library and framework versions for compatibility.
CI/CD integration: Confirm correct branches and build artifacts are running in automated pipelines.
Tools such as Keploy can validate configurations by replaying API calls in different environments to confirm consistency before scaling to more load.
5. Monitoring and Observability Readiness
Effective performance validation relies on accurate observation. Before starting a load test, your sanity checklist should confirm:
Metrics collection: Monitoring of CPU, memory, latency, and error rate collection is enabled.
Log aggregation: Centralized logs (e.g., ELK, Datadog, or Keploy integrations) will collect data properly.
Alert thresholds: Alerts can be configured for saturated resources or application crashes.
Tracing configuration: Distributed tracing tools like Jaeger or OpenTelemetry should be running for root cause analysis.
Dashboards: Visualizer dashboards should be set up for quot-in-the-moment" observation during the tests.
By confirming that all monitoring systems are running, you can isolate and streamline bottlenecks during the actual load test without any questions of confusion or data loss.
6. Sanity Checklist for Performance Script Validation
Load scripts themselves can introduce errors if not sanity-checked. Before running a full-scale test:
Endpoint validation: Confirm URLs and endpoints are correct and accessible.
Payload accuracy: Ensure request payloads match actual API expectations.
Think time configuration: Include realistic pacing between requests.
Concurrency settings: Start small and ramp up gradually.
Assertions: Validate that success criteria (status codes, responses) are included.
Even automated load test frameworks can benefit from Keploy’s traffic replay feature — it can capture live user flows to ensure that your load test scripts simulate realistic workloads.
7. Pre-Test Verification and Sign-off
A structured sanity testing checklist should end with a pre-test review to verify readiness:
Test goals are clearly defined.
All systems report healthy status.
Test data is refreshed and validated.
Stakeholders (QA, DevOps, Product) have approved the test plan.
Rollback and recovery plans are documented.
Monitoring dashboards and alerting systems are active.
Having this formal sign-off reduces the risk of aborted tests and ensures everyone understands the test scope and goals.
Integrating Keploy into Your Sanity Checklist Process
Keploy plays a valuable role in streamlining the sanity testing process before load and performance validation:
Automatic API test generation: Keploy records real API traffic and converts it into test cases, eliminating manual scripting.
Mock generation: When running load tests in isolated environments, Keploy creates mocks for external dependencies, reducing flakiness.
Regression prevention: Replaying previous sanity tests ensures no critical endpoint has regressed before performance testing.
Data reusability: The platform captures realistic test data, which can be reused for load and performance validations.
By embedding Keploy into your sanity checklist, teams can verify system readiness faster and with greater accuracy, ensuring that performance tests focus on scalability — not basic stability issues.
Common Pitfalls When Skipping the Sanity Checklist
Teams often underestimate the importance of sanity validation before load testing. Some common consequences include:
False performance issues: Apparent latency caused by misconfiguration, not real load bottlenecks.
Test environment instability: Servers crash mid-test due to missed readiness checks.
Inaccurate benchmarking: Data inconsistency skews performance metrics.
Wasted resources: Time and compute power spent on invalid runs.
Skipping the sanity phase leads to unreliable conclusions and delayed feedback cycles, directly affecting release confidence.
Conclusion
Having a sanity checklist for load testing and performance validation is not a nice little checklist to have. It is a must-have checklist at any scale. In our experiences, it serves as a gatekeeper to ensure that your application, infrastructure, and monitoring systems are all stable and in alignment prior to heavy load testing.
When we take the time to systematically validate each layer, whether it be environment setup and configuration through to data and observability, teams eliminate rework and can focus on meaningful performance measurements. Adopting AI-Enabled platforms like Keploy helps to optimize sanity validation as a function of efficiency, accuracy, and reproducibility, and wraps it into a simple but crucial step within a modern QA process.
FAQs
How does a sanity checklist differ from a regression suite?
A sanity checklist is a fast set of checks to see if some specific functionality, or a critical area of the application is working after minor changes were made, it just checks if the build is stable enough to continue testing. A regression suite, on the other hand, is a more all-encompassing set of tests that checks the entire application to confirm new changes didn’t break existing functionality.
What is a sanity checklist, and why is it important?
A sanity checklist is a structured list of critical items to verify before running full-scale tests or deploying a build. It ensures that the core functionality, environment, and dependencies are stable, reducing wasted effort in further testing. By using a sanity checklist, teams can catch major issues early and improve the reliability of subsequent testing, including load and performance validation.
Can a Sanity Checklist Be Automated?
Yes, a sanity checklist can be partially or fully automated. Tools like Keploy can record real API traffic and replay it as tests, automatically validating core functionalities, configurations, and integrations before performance or load testing. Automation saves time, reduces human error, and ensures consistent verification across builds, while still allowing manual checks for complex scenarios.
Why is a Sanity Checklist Important Before Load Testing?
For load testing, no tool, pace, or cost can replace the need for a sanity checklist. Sanity checks are important because you want to ensure the stability of the system, environment, and configuration in which you are going to run the load testing. We’ll say it again: load testing a build that is not stable could give you incorrect results, wasted time, and used resources. A sanity checklist steps in and verifies simple things like core functionality, dependencies, the test data, and monitoring setup in advance. Doing so allows a team to surface issues, if any, early, receive accurate performance statistics and save work effort for when the load testing is being executed on a full scale.

Leave a Reply