In this blog post, I will guide you through the process of building a custom DSL in Python. Why? Because, we have to encode real-world problems in code, but we are limited by the power of expressivity of the language we are using. The programming languages are fairly low when it comes to dealing with complex or domain-specific tasks, such as web routing and HTTP request handling in web development. This is where Domain-Specific Languages or DSLs come into play. DSLs are specialized languages designed to address specific problem domains, offering a more expressive and tailored solution.
Your application can be visualized as a collection of modules. Each module translates higher-level concepts into increasingly detailed instructions, allowing you to separate technical details from business features. This approach helps maintain the code in a manageable state by encapsulating implementation details. By using a DSL, we can abstract away and simplify implementation details & code, improve readability, and enhance maintainability, making it easier to focus on high-level business logic rather than low-level technicalities.
But before diving into the technicalities of building a custom DSL, it is important to learn about the fundamental concepts. Before we start with creating a DSL, we need to first define the problem domain, in our case, we need to convert YAML to JSON to get insights.
Why YAML with DSL ?
YAML proves to be a suitable choice for individuals, with technical backgrounds and for their non-technical colleagues, as it deals with simple syntax.
- Human-readable format: YAML is a human-readable data serialization format, making it easy for developers and other stakeholders to read and understand the configuration files.
- Structured data: YAML provides a structured format for defining data, allowing for clear and consistent configuration files.
- Domain-Specific Language (DSL): Using a DSL in YAML configuration files can help make the configuration files more expressive and easier to understand.
- Tooling and automation: YAML files can be easily parsed and manipulated by tools and scripts, making it easy to automate the deployment, testing and management of applications.
- Version control: YAML files can be easily checked into version control systems, allowing for easy tracking of changes and collaboration among team members.
Overall, using YAML with DSL can help make configuration files more expressive, readable, and maintainable, while also making it easier to automate the deployment and management of applications.
Creating the YAML for application
Let’s move on to designing our YAML base file that we will use to convert to JSON, with the help of DSL. This YAML represents a list of tasks under the key tasks. Each task has attributes such as title, priority, completed, due_date, and tags. Additionally, some tasks may have subtasks, which are represented as nested lists of tasks with their attributes.
tasks:
  - title: Buy groceries
    priority: high
    completed: false
    due_date: 2022-02-28
    tags:
      - shopping
  - title: Finish report
    priority: medium
    completed: true
    due_date: 2022-03-10
    tags:
      - work
    subtasks:
      - title: Research
        completed: true
      - title: Write
        completed: true
      - title: Edit
        completed: false
You can find the source code on GitHub.
Now, what?
Now, we must take this YAML File and convert it into a JSON file, to make it usable in Insight’s dashboard based on how long it takes the user to complete its task and substacks for example.
Creating Schema for YAML File
Let’s create schema.py based on the YAML we defined earlier: –
task_list_schema = {
    'type': 'object',
    'properties': {
        'tasks': {
            'type': 'array',
            'items': {
                'type': 'object',
                'properties': {
                    'title': {'type': 'string'},
                    'priority': {'type': 'string'},
                    'completed': {'type': 'boolean'},
                    'due_date': {'type': ['string', 'null']},
                    'tags': {'type': 'array', 'items': {'type': 'string'}},
                    'subtasks': {
                        'type': 'array',
                        'items': {
                            'type': 'object',
                            'properties': {
                                'title': {'type': 'string'},
                                'completed': {'type': 'boolean'}
                            },
                            'required': ['title', 'completed']
                        }
                    }
                },
                'required': ['title', 'priority', 'completed']
            }
        }
    },
    'required': ['tasks']
}
Here, have defined due_date, as a string, so we need to convert it from DateTime into a string before parsing it. Why? Because, if we don’t, the application will throw a compilation error. Let’s move to create our main.py.
#main.py

from schema import task_list_schema

# Function to convert date objects to strings recursively
def convert_dates_to_strings(obj):
    if isinstance(obj, dict):
        return {key: convert_dates_to_strings(value) for key, value in obj.items()}
    elif isinstance(obj, list):
        return [convert_dates_to_strings(item) for item in obj]
    elif isinstance(obj, date):
        return obj.strftime('%Y-%m-%d')
    else:
return objReading and Validating the YAML
With both functions ready to work along with dates mentioned in the schema.py, let’s move to load yaml to the program.
#main.py #existing code

# Function to parse date strings into date objects
def parse_dates(obj):
    if isinstance(obj, dict):
        return {key: parse_dates(value) for key, value in obj.items()}
    elif isinstance(obj, list):
        return [parse_dates(item) for item in obj]
    elif isinstance(obj, (date, datetime)):
        return obj.strftime('%Y-%m-%d')
    elif isinstance(obj, str):
        return obj
    else:
        return obj

def load_tasks_from_yaml(yaml_string):
    loaded_tasks = yaml.safe_load(yaml_string)
return parse_dates(loaded_tasks)parse_datesconverts date strings into date objects.load_tasks_from_yamltakes a YAML string as input, loads it using yaml.safe_load to convert it into a Python object, and then passes the loaded data through the parse_dates function.
Now, we need to validate the tasks object against the specified schema (task_list_schema), before we convert the YAML to JSON.
#main.py
#existing code

def validate_tasks(tasks):
    try:
        validate(instance=tasks, schema=task_list_schema)
        print("Validation successful.")
    except ValidationError as e:
print(f"Validation error: {e}")- The
validate_tasksfunction checks if the provided set of tasks conforms to a predefined JSON schema.
If the tasks pass validation, it prints a success message; otherwise, it prints an error message indicating the validation error. This type of validation is useful for ensuring that the structure of the tasks adheres to a specified format or set of rules.
One last step before we convert the YAML to JSON is to make changes in the subtask so that in the final JSON file we can verify whether the code worked perfectly or not. This is an example of changes that you may make but are not necessary to use, so we will be skipping the below snippet in our final codebase.
#main.py existing code

# Load tasks from YAML DSL
tasks = load_tasks_from_yaml(yaml_dsl)

# Validate tasks against the schema
validate_tasks(tasks)

tasks['tasks'].append({
    'title': 'Plan vacation',
    'priority': 'medium',
    'completed': False,
    'due_date': date(2022, 4, 15),
    'tags': ['travel'],
    'subtasks': [
        {'title': 'Choose destination', 'completed': False},
        {'title': 'Book flights', 'completed': False},
        {'title': 'Pack bags', 'completed': False}
    ]
})
Time for converting YAML to JSON
With the changes made and the validation of YAML done, it’s time to build an efficient parser and interpreter to convert the YAML to JSON.
#main.py
#existing code
def convert_yaml_to_json(yaml_string):
    loaded_data = yaml.safe_load(yaml_string)
    loaded_data = convert_dates_to_strings(loaded_data)
    json_data = json.dumps(loaded_data, indent=2)
return json_data- The
convert_yaml_to_jsonfunction converts a YAML string to a JSON string, handling date objects during the conversion process.
This function is useful because we need to work with data interchangeably in YAML and JSON formats, ensuring that data representations are consistent between the two formats.
Although we have converted the file to JSON, we still need to store the JSON file, right? Let’s make a change to the above convert_yaml_to_json() to create the folder, and save the JSON each time the file is run.
#modify the function in main.py

def convert_yaml_to_json(yaml_string, folder_path):
    loaded_data = yaml.safe_load(yaml_string)
    loaded_data = convert_dates_to_strings(loaded_data)
    json_data = json.dumps(loaded_data, indent=2)

    # Create a folder if it doesn't exist
    if not os.path.exists(folder_path):
        os.makedirs(folder_path)

    # Determine the next available file number
    file_number = 1
    while os.path.exists(os.path.join(folder_path, f'tasks_{file_number}.json')):
        file_number += 1

    # Save to a new JSON file with a numbered filename
    json_filename = os.path.join(folder_path, f'tasks_{file_number}.json')
    with io.open(json_filename, 'w', encoding='utf8') as json_file:
        json_file.write(json_data)
return json_filename
- The
convert_yaml_to_jsonfunction takes a YAML string, converts it to a JSON string, and saves the JSON data to a file with a numbered filename in the specified folder.
This allows for the creation of multiple JSON files with incremental filenames, making it suitable for scenarios where you want to store different versions of the JSON data over time. Let’s add a couple of lines to see how it will work at the end of main.py
json_filename = convert_yaml_to_json(yaml_dsl, 'modified_json_tasks')
print("Original YAML DSL:")
print(yaml_dsl)
print(f"\nConverted YAML to JSON saved to {json_filename}")
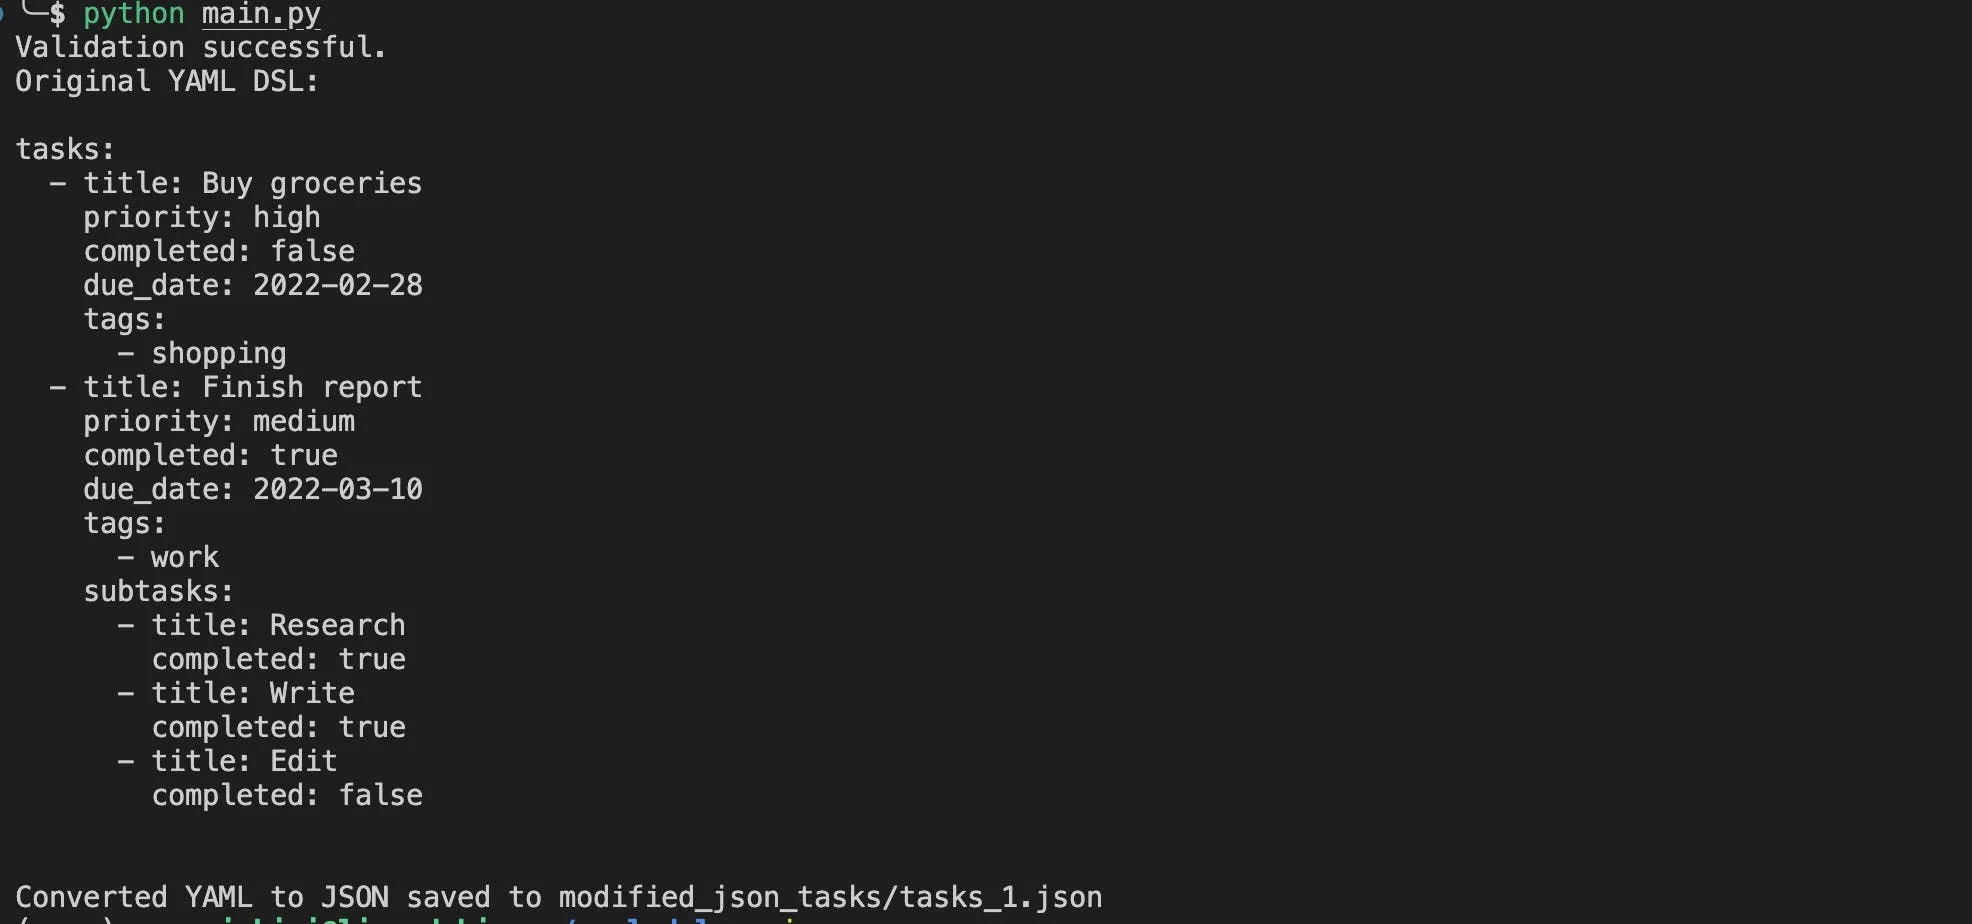
Now, when we run main.py , we can see the output on our console resembling down below: –

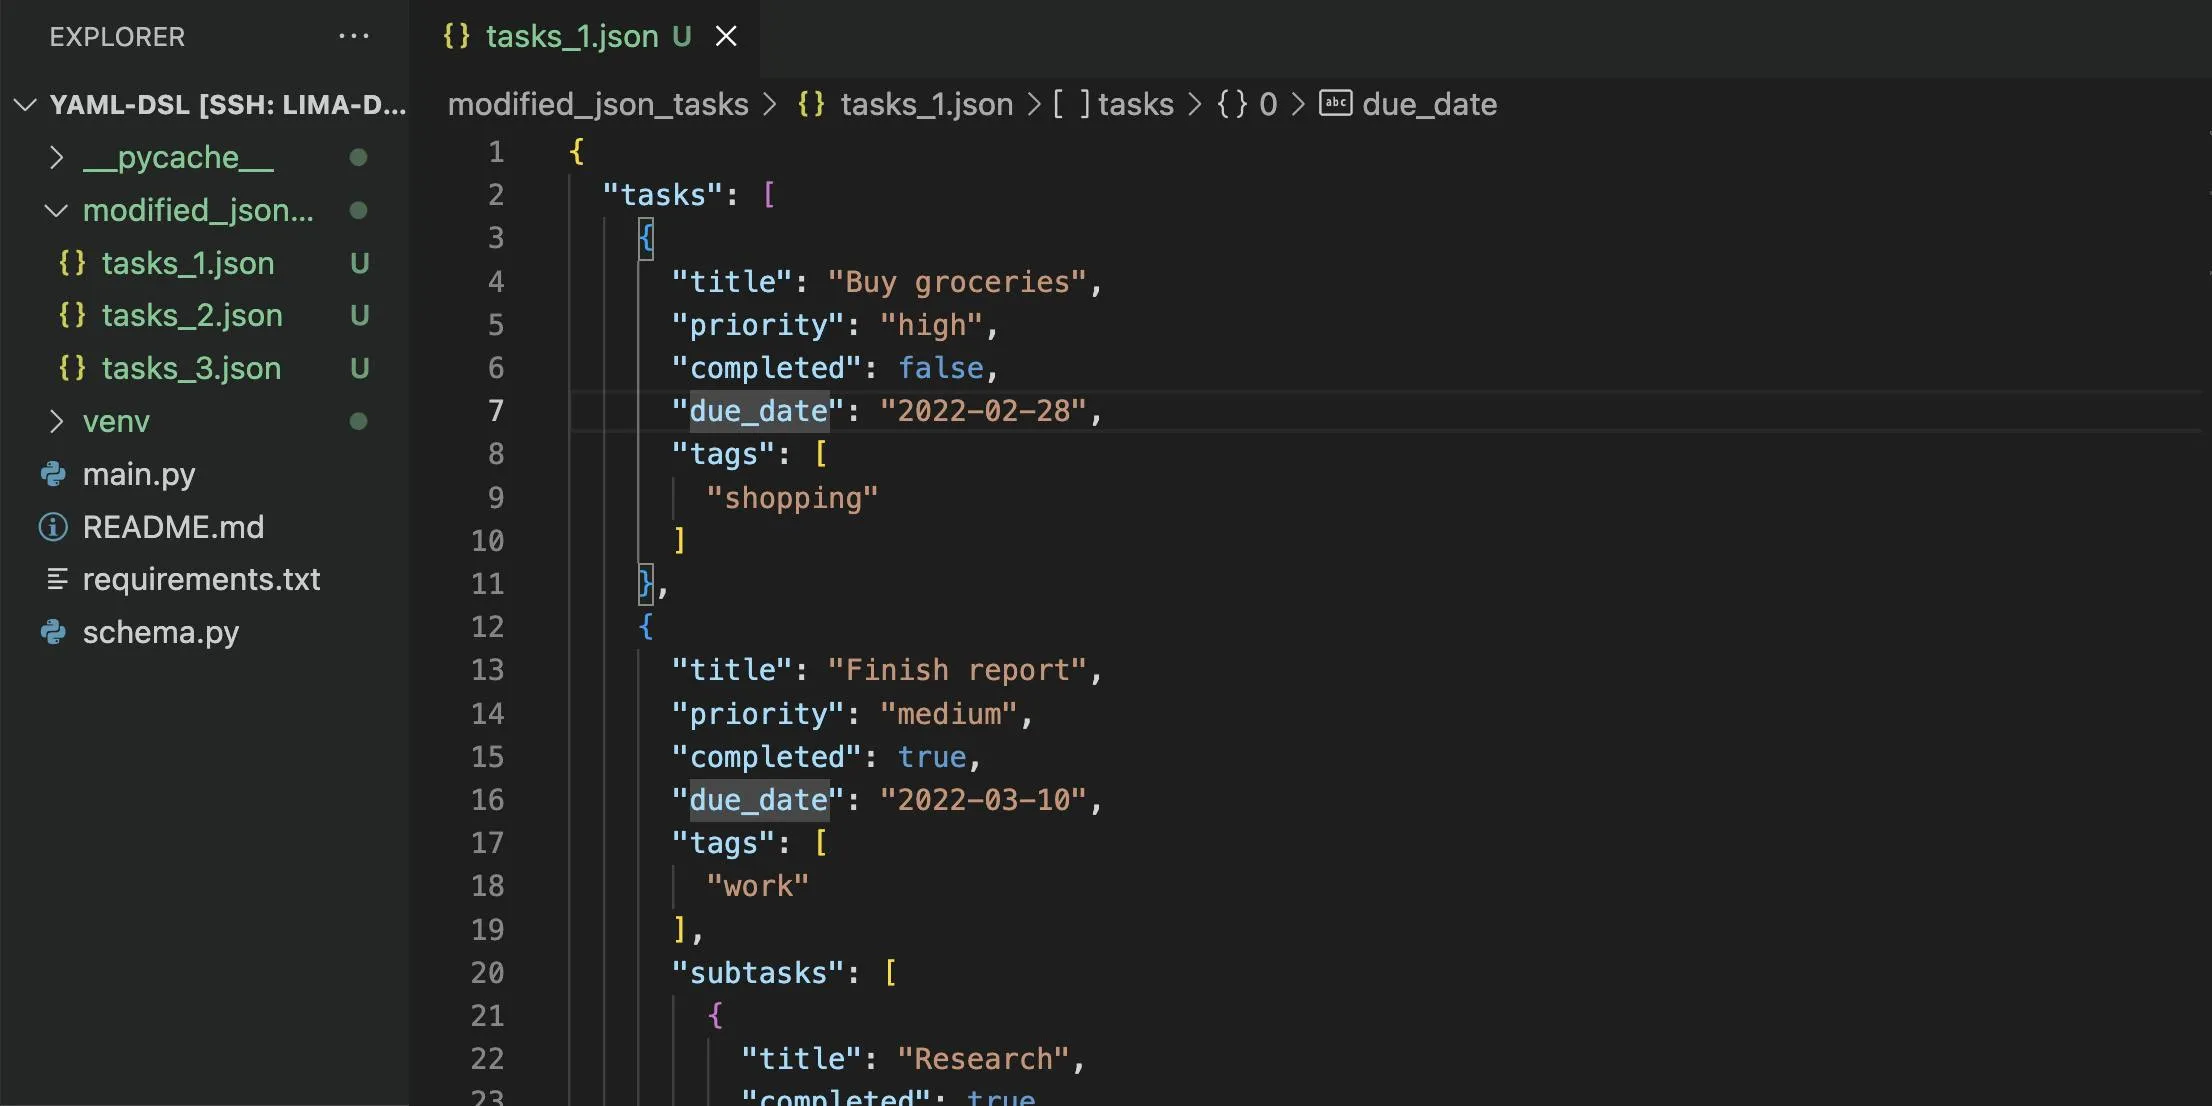
Also, we can see a folder modified_json_task with task_1.json, and each time the python file is executed, we can see a new file with task_${number}.json, signifying the number of time the code has been executed.

And, That’s it!!! You have successfully created your first YAML-DSL in python! 🎉
Incorporating User Feedback
As you refine and enhance your DSL, the feedback from users within the intended problem domain, would allow you to fine-tune the DSL based on real-world usage and address any pain points or ambiguities that users may encounter.
Conclusion
Building a custom DSL in Python empowers developers to create expressive and tailored solutions for specific problem domains. By adhering to the principles outlined in this guide, similar to SDLC/STLC,—”defining the problem domain”, “designing a clean syntax”, “building an efficient parser and interpreter” and “incorporating user feedback” —you can craft a powerful and intuitive DSL that seamlessly integrates with the Python ecosystem.
In conclusion, the art of building a DSL is not merely about creating a new language; it’s more about providing a more natural and effective means of expression within a specific context.
FAQ’s
What is a Domain Specific Language?
A Domain Specific Language (DSL) is a computer programming language of limited expressiveness focused on a particular domain. Most languages you hear of are General Purpose Languages, which can handle most things you run into during a software project. Each DSL can only handle one specific aspect of a system.
So you wouldn’t write a whole project in a DSL?
No. Most projects will use one general purpose language and several DSLs.
What’s the distinction between internal and external DSLs?
An internal DSL is just a particular idiom of writing code in the host language. So a Ruby internal DSL is Ruby code, just written in particular style which gives a more language-like feel. As such they are often called Fluent Interfaces or Embedded DSLs.
An external DSL is a completely separate language that is parsed into data that the host language can understand.
Why are people interested in DSLs?
People are interested in DSLs because they enable developers to express solutions in a language closely tailored to a specific problem domain. By providing a more focused syntax, DSLs can significantly improve developer productivity. They abstract away complexity, allowing developers to concentrate on high-level concepts rather than intricate technicalities. DSLs can also serve as standards within industries, promoting consistency and interoperability among different systems and tools.
When should I consider making a DSL?
When you are looking at an aspect of system with rich business rules or work-flow. A well-written DSL should allow customers to understand the rules by which the system works.
Can we create our own programming language in Python?
Creating a programming language is a significant undertaking requiring knowledge of language design, parsing techniques, and compiler construction principles. However, Python’s flexibility and extensive libraries make it a suitable platform for experimenting with language development.


Leave a Reply