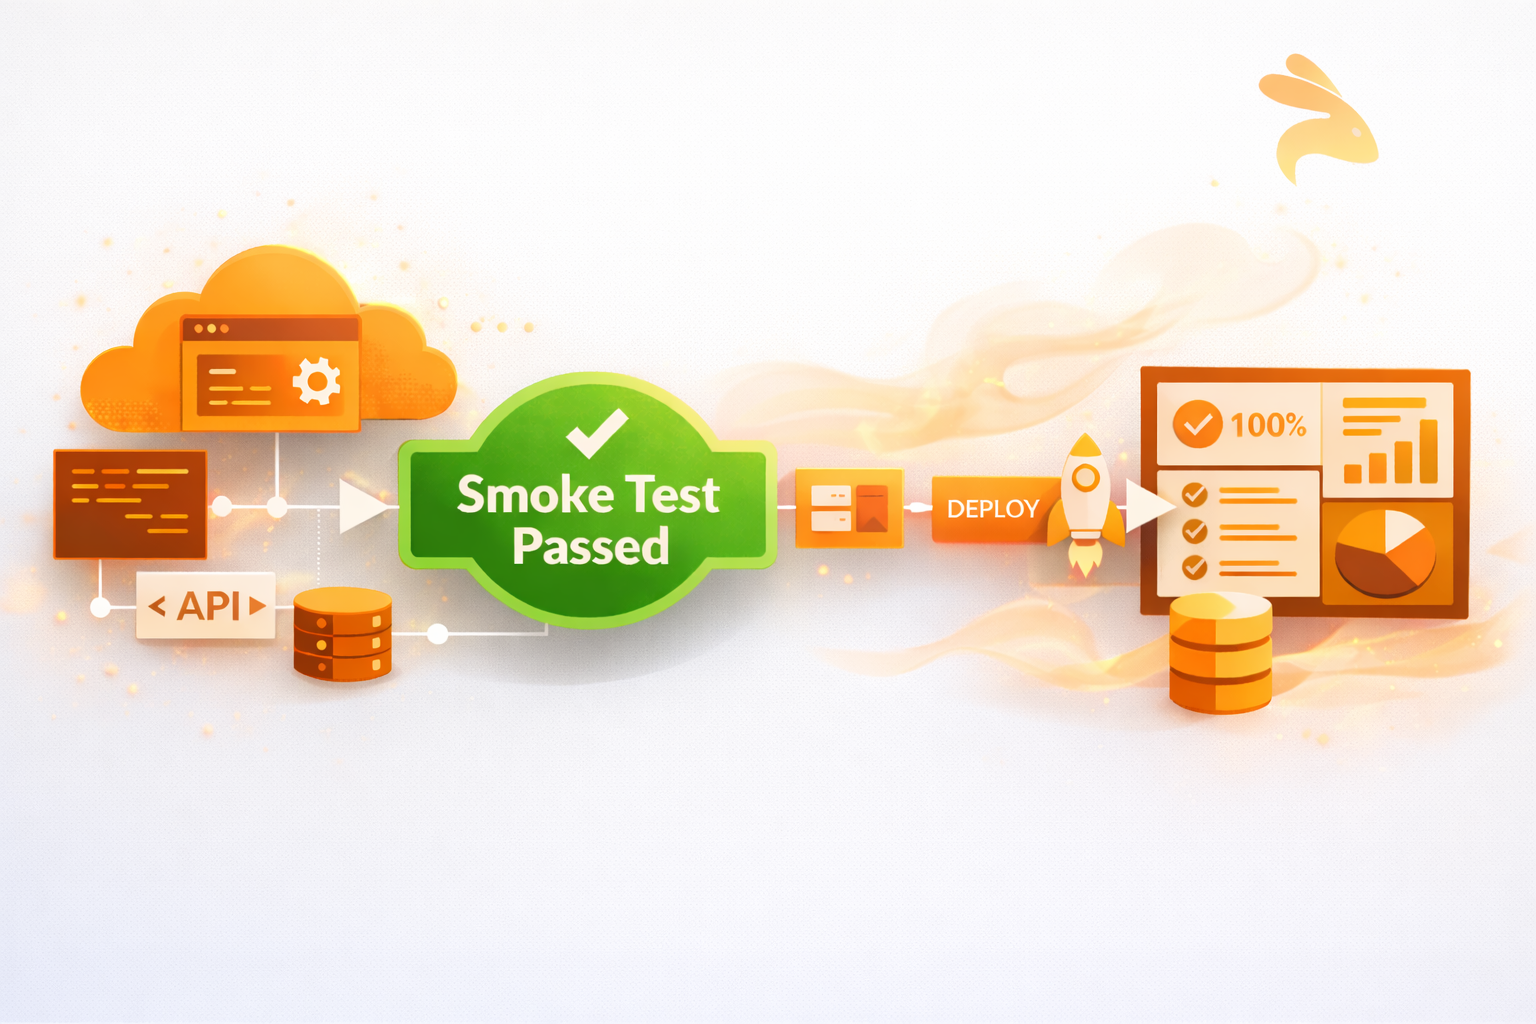
Smoke testing is a preliminary software testing technique that verifies a build’s most critical functions are working correctly before deeper testing begins. It acts as a quality gate — if the build fails the smoke test, it is rejected and not passed to QA.
In software development, smoke testing plays a similar role. Before investing time in detailed testing, teams use smoke tests to validate that the application is fundamentally stable and worth testing further.
In this guide, we’ll explore what smoke testing is, why it’s essential, how it works, when to use it, who performs it, real-world examples, automation strategies, comparisons with other testing types, and best practices — all aligned with modern Agile and CI/CD workflows.
What Is Smoke Testing?
Smoke testing is a build verification technique that checks whether the critical functionality of a software application works after a new build or deployment. The goal is not exhaustive testing — it is to confirm the build is stable enough to proceed to full QA cycles.
The goal of smoke testing isn’t to check all of the app but rather, to be sure that the new version of it didn’t introduce any major defects.
The term "smoke testing" originally comes from plumbing and hardware engineering, where smoke was literally pumped into pipes or circuits to reveal leaks or faults. Electronics engineers adopted the phrase — if a newly built circuit board produced smoke when first powered on, it had a critical fault. Software testers later borrowed the term to describe the same concept: a quick first check to confirm nothing is fundamentally broken.
Smoke testing can help answer the following questions:
- Does the application start?
- Can users access core features?
- Are critical workflows reachable?
- Is the system stable enough for further testing?
Examples of scenarios that usually include smoke testing:
- Application launch
- User authentication
- Dashboard or homepage loading
- Core API availability
- Database connectivity
Conducting smoke tests at the start of the testing process is a fast and effective way to determine the overall stability of a newly built software application.
Why Do We Need Smoke Testing?
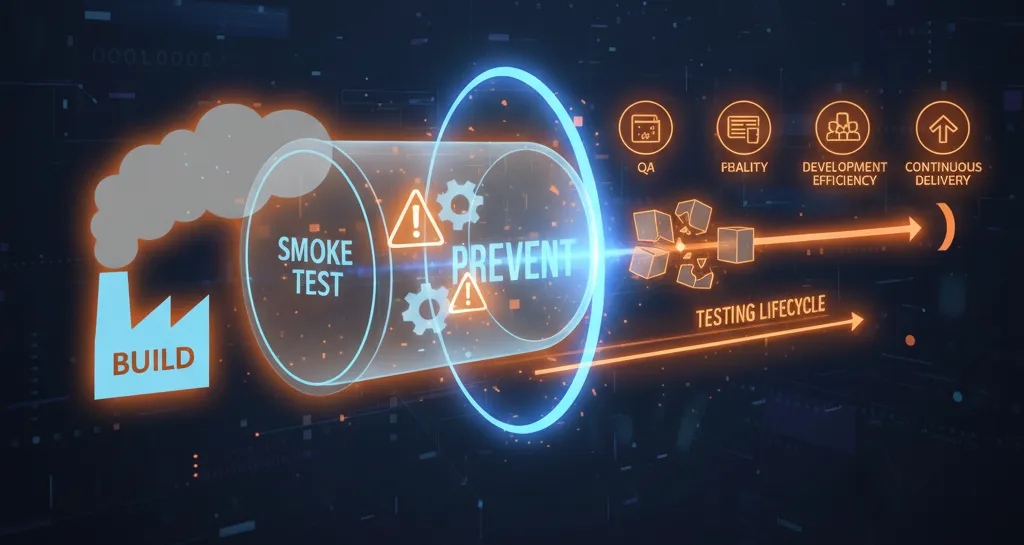
Smoke tests are the first test in the testing lifecycle, preventing broken builds from advancing any further into the testing process.
1. Smoke Tests Identify Major Issues Early
Smoke tests catch major issues early — such as application crashes, broken authentication, or failed deployments — before QA begins deeper testing.
2. Smoke Tests Improve Development Efficiency
Without smoke testing, development teams risk wasting hours testing builds that are too broken to pass. Smoke tests act as a filter — stopping bad builds before they consume QA time and resources.
3. Smoke Tests Improve Quality Assurance
Smoke tests add a quality checkpoint that confirms basic functionality is working under normal conditions, before QA begins any in-depth testing.
4. Smoke Tests Provide a Rapid Feedback Cycle
In Agile and DevOps environments, fast feedback is critical. Running smoke tests immediately after a build lets developers catch and fix defects quickly, reducing the overall length of each testing cycle.
5. Smoke Tests Create Stability for Continuous Delivery
Continuous delivery means frequent deployments. Smoke tests are the mechanism that prevents broken or unstable builds from advancing through the CI/CD pipeline — protecting the integrity of the entire delivery process.
Objectives of Smoke Testing
The primary goal of smoke testing is the validation of a build, not an exhaustive verification.
Smoke testing has key objectives:
-
Immediate Identification of Critical Issues
Verifies critical user paths (such as login, retrieve/archive flows, and key API calls) immediately after a new build is deployed to identify issues caused by recent code changes, configuration updates, or infrastructure problems. -
Confirmation of High-Priority Features
Ensures that essential, business-critical functionalities are working as expected (for example, in eCommerce applications: browsing products, adding items to the cart, and proceeding to checkout). -
Minimizing QA Waste
Prevents QA teams from spending time on lengthy or in-depth testing when the software is unstable by quickly invalidating broken or non-testable builds. -
Acts as a Quality Gate
A successful smoke test signals that the build is stable and ready for detailed testing, such as regression testing, system testing, or acceptance testing.
When and by Whom Is Smoke Testing Done?
When Is Smoke Testing Performed?
Smoke testing is performed at these key times:
- Immediately after a new build is deployed
- Before regression or system testing begins
- Automatically during CI/CD pipeline execution
- After environment or configuration changes
Who Performs Smoke Testing?
Quality Assurance (QA) Engineers
QA personnel conduct manual or automated smoke testing of a particular release or build prior to deeper testing, ensuring its stability.
Developers
Developers typically execute lightweight smoke tests on their local development environments before submitting their build to QA for further testing.
Automation Engineers
Automation engineers create and run automated smoke tests for every CI/CD deployment by configuring them during deployment and pull requests.
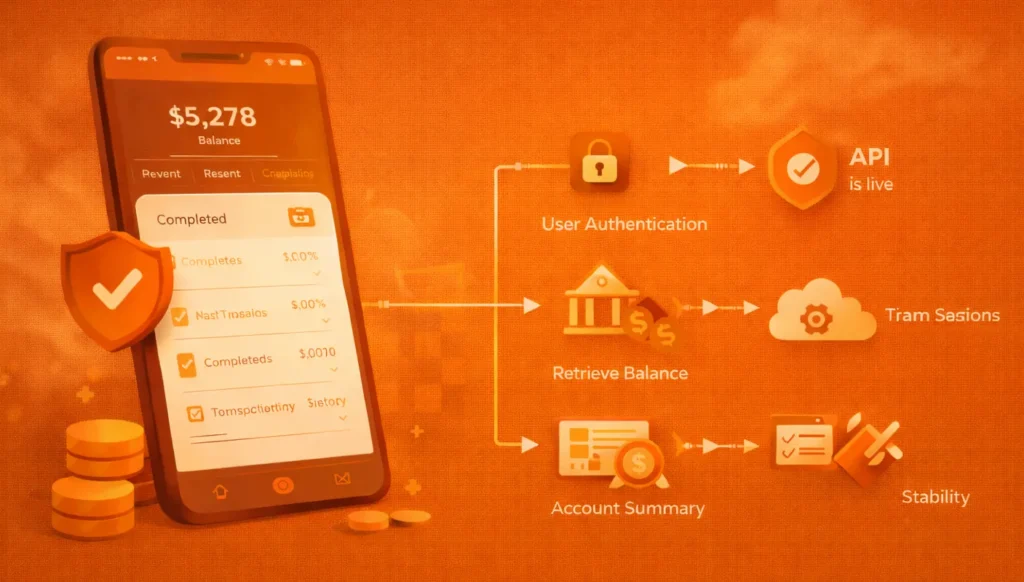
Real-World Scenario: Mobile Banking Application
Imagine a mobile banking app that processes financial information about consumers. Before it goes out for full testing, it must pass smoke testing to confirm that all core activities associated with financial transactions are executing properly.
Steps in Conducting the Smoke Test:
Validating Core Functionalities
- User authentication
- Retrieve balance
- Start transactions
Verifying Navigation
- Access to Account Summary page
- Access to Transaction History page
- Access to Settings and Profile pages
Verifying Stability
- App crashes don’t occur
- API is live
- Data passed through secure session
If any of the tests above fail, the build will not be processed further — it will be rejected.
The Different Types of Smoke Testing
1. Build Verification Testing (BVT)
Build Verification Testing (BVT) validates that a newly created build is stable enough to proceed to further testing. In most cases, BVT is automated as part of the Continuous Integration (CI) pipeline and runs immediately after every new build is compiled.
2. Partial Smoke Testing
Partial smoke testing focuses only on the specific modules or components that were affected by recent code changes. Instead of testing the entire application, testers run smoke tests on the changed areas to confirm that updates haven’t introduced critical failures — making it faster and more targeted than a full smoke test pass.
3. Incremental Smoke Testing
Incremental smoke testing extends the existing smoke test suite as new modules or features are added to the application. Each time a new component is introduced, corresponding smoke tests are added to the suite — ensuring that the growing application continues to be validated at a foundational level with every build.
4. Acceptance Smoke Testing
Acceptance smoke testing evaluates whether a build satisfies the minimum acceptance criteria defined by stakeholders before it proceeds to User Acceptance Testing (UAT). It acts as a pre-UAT filter, ensuring that only builds meeting the baseline quality standard are handed over for stakeholder review.
5. Manual Smoke Testing
Manual smoke testing involves testers executing smoke test cases by hand, without automation scripts. It is typically used in early development stages, for one-off builds, or in situations where UI validation requires human judgment that automated tools cannot reliably replicate.
6. Automated Smoke Testing
Automated smoke testing uses scripts and testing frameworks to execute smoke test cases automatically — without any manual intervention. It is the most widely used approach for large-scale projects and CI/CD environments because it is fast, repeatable, and can be triggered on every build or deployment without human effort.
How Can the Smoke Testing Procedure Be Automated?
Automating smoke tests improves speed, consistency, and reliability.
Step-by-Step Automation Approach:
-
Identify Critical Test Cases
Focus on login, APIs, dashboards, and essential workflows. -
Choose the Right Tools
UI tools for frontend validation, API tools for backend services, and framework-level tools for system checks. -
Integrate with CI/CD Pipelines
Automatically trigger smoke tests after deployments. -
Analyze and Report Results
Use dashboards and reports to quickly assess build health.
Smoke Testing in CI/CD Pipelines
In modern development, smoke tests are most valuable when they run automatically on every push or deployment — giving your team instant feedback before any manual QA begins.
Setting Up a Smoke Test with pytest
Here’s a minimal smoke test suite for a web application using Python’s pytest and requests:
# smoke_test.py
import requests

BASE_URL = "https://app.staging.keploy.io/"

def test_app_is_running():
    response = requests.get(f"{BASE_URL}/health")
    assert response.status_code == 200

def test_login_endpoint_reachable():
    response = requests.post(f"{BASE_URL}/api/login", json={
        "username": "testuser", "password": "testpass"
    })
    assert response.status_code in [200, 401]  # reachable, not crashed

def test_homepage_loads():
    response = requests.get(BASE_URL)
    assert response.status_code == 200
These three tests cover the three most critical smoke test scenarios:
- Health check — is the server running at all?
- Auth endpoint — is the login system reachable (even a 401 means it’s alive)?
- Homepage — is the frontend serving responses?
If any of these fail, the build should be blocked immediately.
Triggering Smoke Tests Automatically with GitHub Actions
Once your smoke tests are written, wire them into your CI pipeline so they run on every push and pull request:
# .github/workflows/smoke-test.yml
name: Smoke Tests
on: [push, pull_request]
jobs:
  smoke:
    runs-on: ubuntu-latest
    steps:
      - uses: actions/checkout@v3
      - name: Install dependencies
        run: pip install requests pytest
      - name: Run smoke tests
        run: pytest smoke_test.py -v
With this setup, every code push automatically triggers your smoke tests. If they pass, the build proceeds to deeper testing. If they fail, the pipeline stops — no broken build reaches QA or production.
Tip: Keep your smoke test suite under 5 minutes total runtime. If it takes longer, you’ve likely added too much scope — trim it back to critical paths only.
Automating Smoke Tests with Keploy
Most smoke testing tools require you to write and maintain test scripts manually. Keploy takes a different approach — it records real API traffic from your application and automatically generates smoke tests from it, meaning your tests always reflect actual production behavior rather than assumptions made at the time of writing.
This makes Keploy particularly effective for API-first applications and microservice architectures, where the number of endpoints makes manual script maintenance impractical.
Key advantages for smoke testing with Keploy:
- Zero manual script writing — tests are generated automatically from real API traffic
- CI/CD native — integrates directly into your existing pipeline without extra configuration
- Always up to date — tests evolve as your API behavior evolves, no manual updates needed
- Catches regressions automatically — compares new responses against recorded production baselines
Smoke Testing vs Sanity Testing vs Regression Testing
While smoke testing, sanity testing, and regression testing are often confused, each serves a distinct purpose at a different stage of the software testing lifecycle. Understanding the difference — and the order in which they run — saves teams significant time and wasted effort.
Execution Order in Practice
In a typical testing workflow, these three test types run in sequence:
- Smoke testing runs first — it checks whether the new build is stable enough to test at all.
- Sanity testing runs next — it verifies that a specific bug fix or change works correctly.
- Regression testing runs last — it confirms that new changes haven’t broken any existing functionality.
Think of it as a funnel: smoke testing filters out broken builds, sanity testing validates targeted fixes, and regression testing protects the entire application. Skipping straight to regression testing on an unstable build wastes hours — smoke testing prevents exactly that.
Key Differences at a Glance
| Criteria | Smoke Testing | Sanity Testing | Regression Testing |
|---|---|---|---|
| Purpose | Verify overall build stability | Validate specific bug fixes or changes | Ensure existing features still work |
| Scope | Broad and shallow | Narrow and deep | Wide and deep |
| Performed After | A new build or deployment | Minor bug fixes or enhancements | Code changes, enhancements, or fixes |
| Test Coverage | Core and critical functionalities | Specific affected modules | Entire application or major parts |
| Automation | Common (especially in CI/CD) | Optional (often manual) | Highly recommended |
| Execution Time | Very fast | Fast | Time-consuming |
| Outcome | Accept or reject the build | Confirm fix correctness | Maintain application reliability |
| Trigger | After every new build or deployment | After a specific bug fix | After any code change |
This layered approach helps teams save time, reduce risk, and maintain consistent software quality.
Benefits of Smoke Testing
Early Detection of Critical Defects
Smoke testing allows for the immediate identification of critical defects within a software application after a new build has been created. Critical defects include application crashes, assembly errors, loss of API access, and broken authentication. Early discovery prevents development teams from working with unstable builds later in the process, saving both time and effort.
Reduced QA Cycle Time
Smoke testing enables QA teams to filter out unstable builds early, eliminating the time wasted executing extensive test suites on fundamentally broken builds. This significantly shortens the overall QA cycle and improves delivery speed.
Improved CI/CD Reliability
Automated smoke tests serve as an early quality gate within CI/CD pipelines, ensuring that only stable builds are pushed forward into later stages such as regression and system testing.
Faster Developer Feedback
Smoke tests give developers immediate feedback, allowing for faster response times and less context switching during the development process.
Increased Confidence in Releases
Smoke tests that consistently pass offer greater confidence that the application meets the minimum quality criteria before being deployed as a release.
Disadvantages of Smoke Testing
Limited Coverage
Smoke tests only cover the application’s key elements and do not assess most errors that occur as a result of UI failures, edge cases, or complex workflows.
May Miss Edge Cases
A limited test scope means smoke tests do not account for certain data conditions, user types, or results that fall outside the critical path.
Not a Substitute for Deeper Testing
Smoke tests will never replace the need for comprehensive testing. Do not rely solely on smoke tests to gauge whether your application is stable.
Requires Careful Test Selection
Smoke test cases must be chosen carefully. Poorly selected or overly broad test cases may miss the most important failures or produce unreliable results.
Best Practices for Performing Effective Smoke Tests
Automate Wherever Possible
Automated smoke tests run faster than manual ones and are reusable in CI/CD environments. They can be triggered immediately after every build without manual intervention.
Keep Tests Simple and Focused
Smoke tests should cover business-critical paths — login flows, core APIs, and essential workflows. Keep them simple and avoid adding unnecessary complexity.
Run Smoke Tests on Every Build
Smoke tests should be executed after every successful build to verify that new code or configuration changes haven’t broken critical workflows.
Prioritize Business-Critical Workflows
Focus on workflows that directly impact the company’s operations — specifically those with a direct effect on revenue or core user experience.
Avoid Flaky or Unstable Tests
Flaky smoke tests erode confidence in results. All automated tests should rely on stable dependencies and controlled, known test data.
Integrate Tightly with CI/CD Pipelines
Automated smoke tests should automatically block deployments when they fail. They are the primary quality control gate in the software delivery process.
Tools to Automate Smoke Testing
Keploy

Keploy automatically generates smoke tests from real API traffic, ensuring tests reflect real production behavior. It integrates smoothly with CI/CD pipelines and is particularly effective for API-first and microservice architectures. Keploy also offers a unit test generator that works alongside your smoke test suite.
Selenium
Selenium is widely used for browser-based smoke testing. It helps validate critical UI workflows like login, navigation, and form submission across multiple browsers.
Jenkins
Jenkins automates the execution of smoke tests after builds or deployments, preventing unstable builds from progressing further in the pipeline.
PyTest
PyTest is a lightweight and scalable framework commonly used to automate smoke tests in Python applications due to its simplicity and fast execution.
Conclusion
Smoke testing is one of the highest-value, lowest-effort practices in modern software development. It takes minutes to run, but saves hours of wasted QA effort on broken builds.
The key principles to take away: run smoke tests on every build, keep them fast and focused on critical paths, automate them inside your CI/CD pipeline, and treat a failed smoke test as a hard stop — not a warning.
As your application grows, tools like Keploy can eliminate the manual overhead of maintaining smoke test scripts entirely, by generating and updating tests automatically from real API traffic.
Frequently Asked Questions (FAQ)
What is smoke testing?
Smoke testing is an initial evaluation of the core functionality of a software build, performed before any deeper testing begins. It confirms the build is stable enough to proceed to full QA cycles.
Is smoke testing automated?
Smoke testing can be conducted manually or through automation. However, automation is strongly recommended — particularly in CI/CD environments — to improve feedback speed and reliability.
When should smoke testing be performed?
Smoke testing should be performed after every build or deployment, to confirm the application is stable enough to continue testing.
What is the difference between smoke testing and sanity testing?
Smoke testing checks overall build stability across the entire application after a new build. Sanity testing checks that a specific bug fix or change works correctly — it is narrower and deeper. Smoke testing always runs first.
How long does a smoke test take?
A well-designed smoke test suite should complete in 5–15 minutes. If it takes longer, it’s likely covering too much scope and should be trimmed to critical paths only.
What happens if a smoke test fails?
The build is rejected and returned to the development team. It does not progress to regression testing, system testing, or QA — preventing wasted effort on an unstable build.

Leave a Reply