If you’re an SDET who’s been using Playwright for API testing, you might be all too familiar with the frustrations of dealing with database dependencies, data management, and the endless need for cleanup. Let’s face it – Playwright, while fantastic for UI testing, can be cumbersome when it comes to API testing. But what if there’s a better way to handle this?
In this post, I’ll show you how to make the switch to Keploy, an open source API testing tool, and a best playwright alternative when it comes to API Testing and Mock APIs. If you’re looking to streamline your testing process and eliminate database headaches, stick around. This migration could be the game-changer you’ve been waiting for.
Playwright Overview for API Testing
Playwright Test was created specifically to accommodate the needs of end-to-end testing. It’s popular for automating browser interactions and has extended its capabilities to API testing. Playwright’s API testing features allow you to make HTTP requests, validate responses, and even mock endpoints. But when you’re relying on Playwright for API testing in complex environments, the challenges quickly add up.
While Playwright is a solid tool, these are some of the reasons I ran into trouble:
-
Manual Mock Setup: With Playwright, you have to manually define mock responses for each API interaction. This involves setting up routes with
page.route()or intercepting network requests using fixtures, which can become repetitive and error-prone. For large applications with many endpoints, this leads to a significant amount of code that must be managed and maintained. -
Coverage May Not Be Comprehensive: Since Playwright primarily focuses on end-to-end testing and simulating user interactions, it’s possible that only the UI code is getting tested, and the underlying logic (API calls, backend processing) may not be fully covered.
-
Test Setup Overhead: Setting up a testing environment in Playwright, especially when mocking API calls, are very time-consuming. As this setup involves configuring routes, responses, and data, requiring extra time and effort before even running the actual tests.
-
Slow Test Runs: Simulating API responses manually in Playwright often involves setting up a large number of mocks for different endpoints and responses. This adds to the execution time, as every test must go through multiple mocked interactions, and handling a significant number of mocks can slow down the process, especially for large test suites.
-
Limited Integration with Backend Logic: Playwright is designed to focus on browser interactions, not on API or server-side testing. As a result, if you are testing interactions that rely on backend APIs or services, it doesn’t naturally offer visibility into whether your backend code is fully covered.
-
Test Isolation Issues: Playwright tests often require real or mocked data, and setting up proper test isolation can be tricky, especially when relying on external databases, services, or third-party APIs.
As these problems mounted, I began looking for a solution that could make API testing simpler and more efficient. That’s where Keploy came into picture.
Why Migrate to Keploy?
Keploy is a great tool for API testing which also helps in creating data mocks/stubs. Unlike Playwright, which often requires complex setups for database management and test data creation, Keploy automates many of these processes. Here’s why migrating to Keploy made sense for me:
-
No More Manual Mock Setup
Keploy takes out the toil work of writing repetitive API test code. Instead of manually defining requests, responses, and mock data, Keploy captures real API interactions and allows you to replay them later. This eliminates the need for extensive test code and drastically reduces the time spent on test creation.
-
No Database Dependency
Keploy records actual API interactions and replays them for future test runs, meaning you no longer need a live database to execute tests. This eliminates the overhead of maintaining a running database and cleaning it up after each test. -
Faster Test Execution
Since Keploy doesn’t require setting up or tearing down a database, test execution becomes much faster. With the tests already recorded, the need for preparing test data or interacting with databases is a thing of the past.
-
Easy Integration with CI/CD
Keploy integrates seamlessly with CI/CD pipelines, providing faster feedback and improving overall productivity. You can easily run recorded API tests as part of your continuous integration process without worrying about database states or manual test setup.
-
Comprehensive Test Coverage
Since Keploy records real-world API interactions, you can achieve more accurate and complete test coverage. By replaying these recorded interactions, Keploy can simulate real-world edge cases that may not be fully captured with manually written tests.
Steps to Migrate from Playwright to Keploy
We will run a simple user-management application in NextJS with Postgres as a database for this guide.
Step 1: Assess Your Current API Test Setup
Before diving into the migration, I first evaluated the existing API tests I had written in Playwright. This included:
-
Reviewing all the API requests and responses I was testing.
-
Documenting the setup required for each test (like database state and mock data).
-
Running a full test suite to check for any existing issues and gather test coverage data.
The playwright test for my application is present in app.spec.ts under test folder.
import { test, expect } from '@playwright/test';

const apiUrl = 'http://localhost:3000/api/users';  // Application is running on port 3000

test.describe('User API Tests', () => {

    // Test GET request (Fetch all users)
    test('GET /api/users should return a list of all users', async ({ request }) => {
        const response = await request.get(apiUrl);
        expect(response.status()).toBe(200);  // Ensure status code is 200
        const body = await response.json();
        expect(body.users).toBeInstanceOf(Array);
    });
});
Once I had a clear understanding of my current testing situation, it was time to make the move.
Step 2: Install Keploy and Set Up the Environment
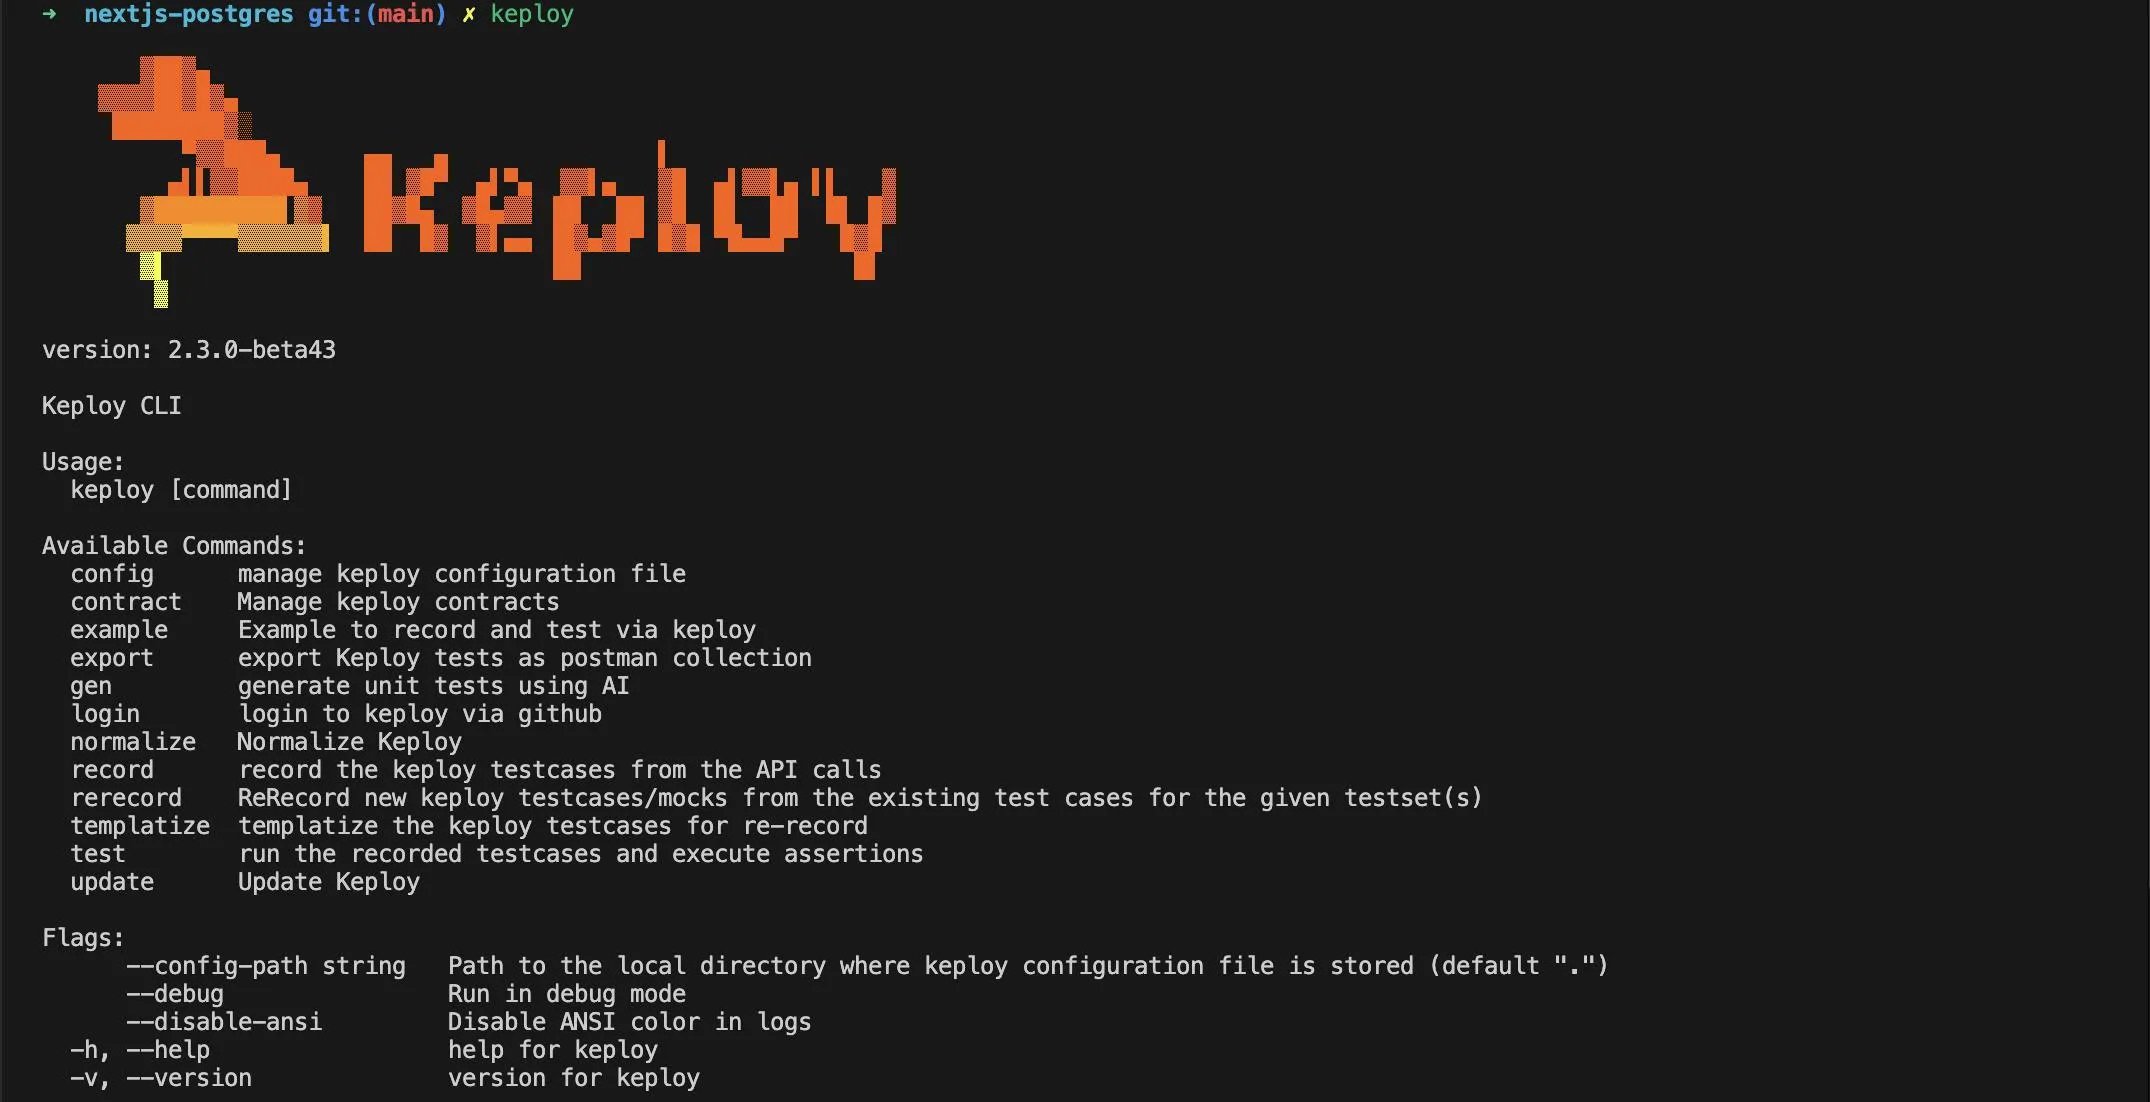
The next step was to install Keploy in my testing environment. Keploy’s installation process is simple and straightforward, with detailed instructions available in the Keploy GitHub repository. After installation, we can verify the setup by running a quick check in the terminal:

This confirmed that Keploy was correctly installed and ready to go.
Step 3: Record API Interactions with Keploy
Keploy works by recording actual API interactions that occur during test execution. To capture these interactions, we need to run my Playwright tests as usual, but this time with Keploy in recording mode. Here’s how I set it up:
-
Start your application and database using Docker Compose or another setup.
-
Run Keploy in record mode to capture real API interactions:
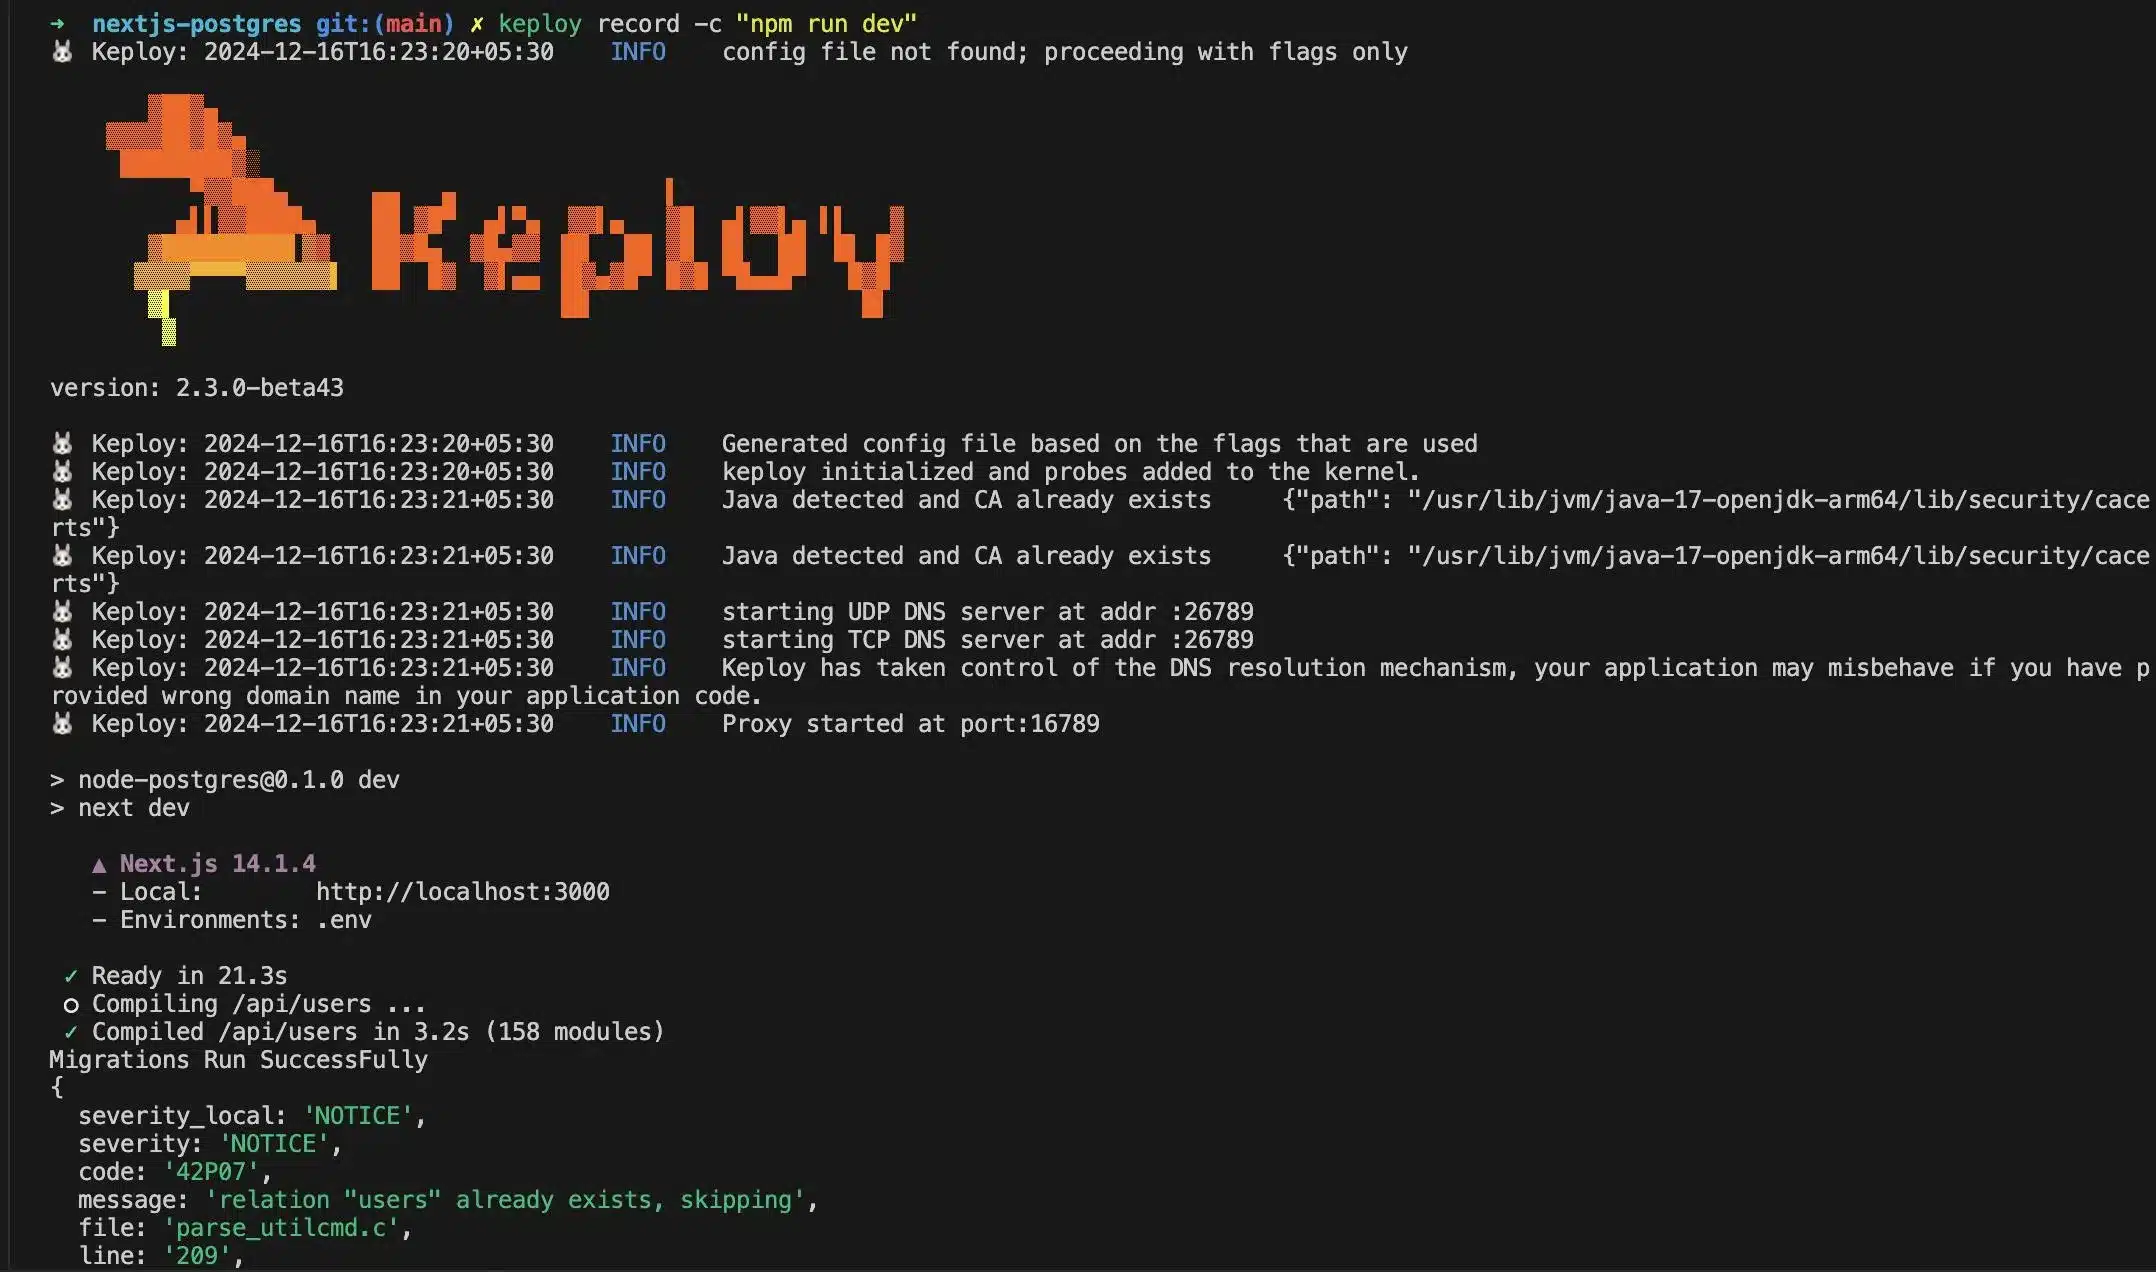
keploy record -c "npm run dev"This command instructed Keploy to capture all the HTTP requests and responses generated by the Playwright tests.

Let’s run our playwright testsuite –

We can notice keploy recording each of test cases which were part of existing testsuite written in playwright.

Each of the test cases generated by Keploy is a Playwrigth test-case: –
test('POST /api/users should create a new user', async ({ request }) => {
        const newUser = {
            name: 'John Do',
            email: 'johndoee@xyz.com'
        };

        const response = await request.post(apiUrl, {
            data: newUser
        });

        expect(response.status()).toBe(200);  // Ensure status code is 200
        const body = await response.json();
        expect(body.users[0]).toHaveProperty('id');  // Check if the first user in the array has an ID
        expect(body.users[0].name).toBe(newUser.name);
        expect(body.users[0].email).toBe(newUser.email);
    });

    // Test PUT request (Update an existing user)
    test('PUT /api/users should update an existing user', async ({ request }) => {
        // First, create a new user to update
        const newUser = {
            name: 'Jane Doe',
            email: 'janedoe@example.com'
        };

        let response = await request.post(apiUrl, {
            data: newUser
        });

        // Check if the POST request was successful
        expect(response.status()).toBe(200); // Ensure status code is 200
        const createdUser = await response.json();
        expect(createdUser.users).toHaveLength(1);
        const userId = createdUser.users[0].id;

        // Prepare the updated user data
        const updatedUser = {
            id: userId,
            name: 'John Deo',
            email: 'updated@example.com'
        };

        // Make the PUT request to update the user
        response = await request.put(apiUrl, {
            data: updatedUser
        });

        // Check if the PUT request was successful
        expect(response.status()).toBe(200);
        const body = await response.json();

        // Check if the updated fields match the new values
        expect(body.users[0].name).toBe(updatedUser.name);
        expect(body.users[0].email).toBe(updatedUser.email);
    });

    // Test DELETE request (Delete a user)
    test('DELETE /api/users should delete a user', async ({ request }) => {
        // First, create a user to delete
        const newUser = {
            name: 'Mark Doe',
            email: 'markdoe@example.com'
        };

        let response = await request.post(apiUrl, {
            data: newUser
        });

        // Check if the response body is empty or invalid
        if (!response.ok()) {
            console.error('Failed to create user', await response.text());
            expect(response.ok()).toBe(true);  // Fail the test if the response is not OK
        }

        const createdUser = await response.json();
        if (!createdUser || !createdUser.users || createdUser.users.length === 0) {
            console.error('Invalid response format:', createdUser);
            throw new Error('Created user response format is invalid');
        }

        const userId = createdUser.users[0].id;  // Accessing the ID of the newly created user

        // Delete the created user
        response = await request.delete(apiUrl, {
            data: { id: userId }  // Sending the ID of the user to be deleted
        });

        // Check if the delete response is valid
        expect(response.status()).toBe(200);  // Ensure status code is 200
        const body = await response.json();
        expect(body.users[0].id).toBe(userId);  // Ensure the correct user is deleted
    });
Step 4: Replay Recorded Interactions as Tests
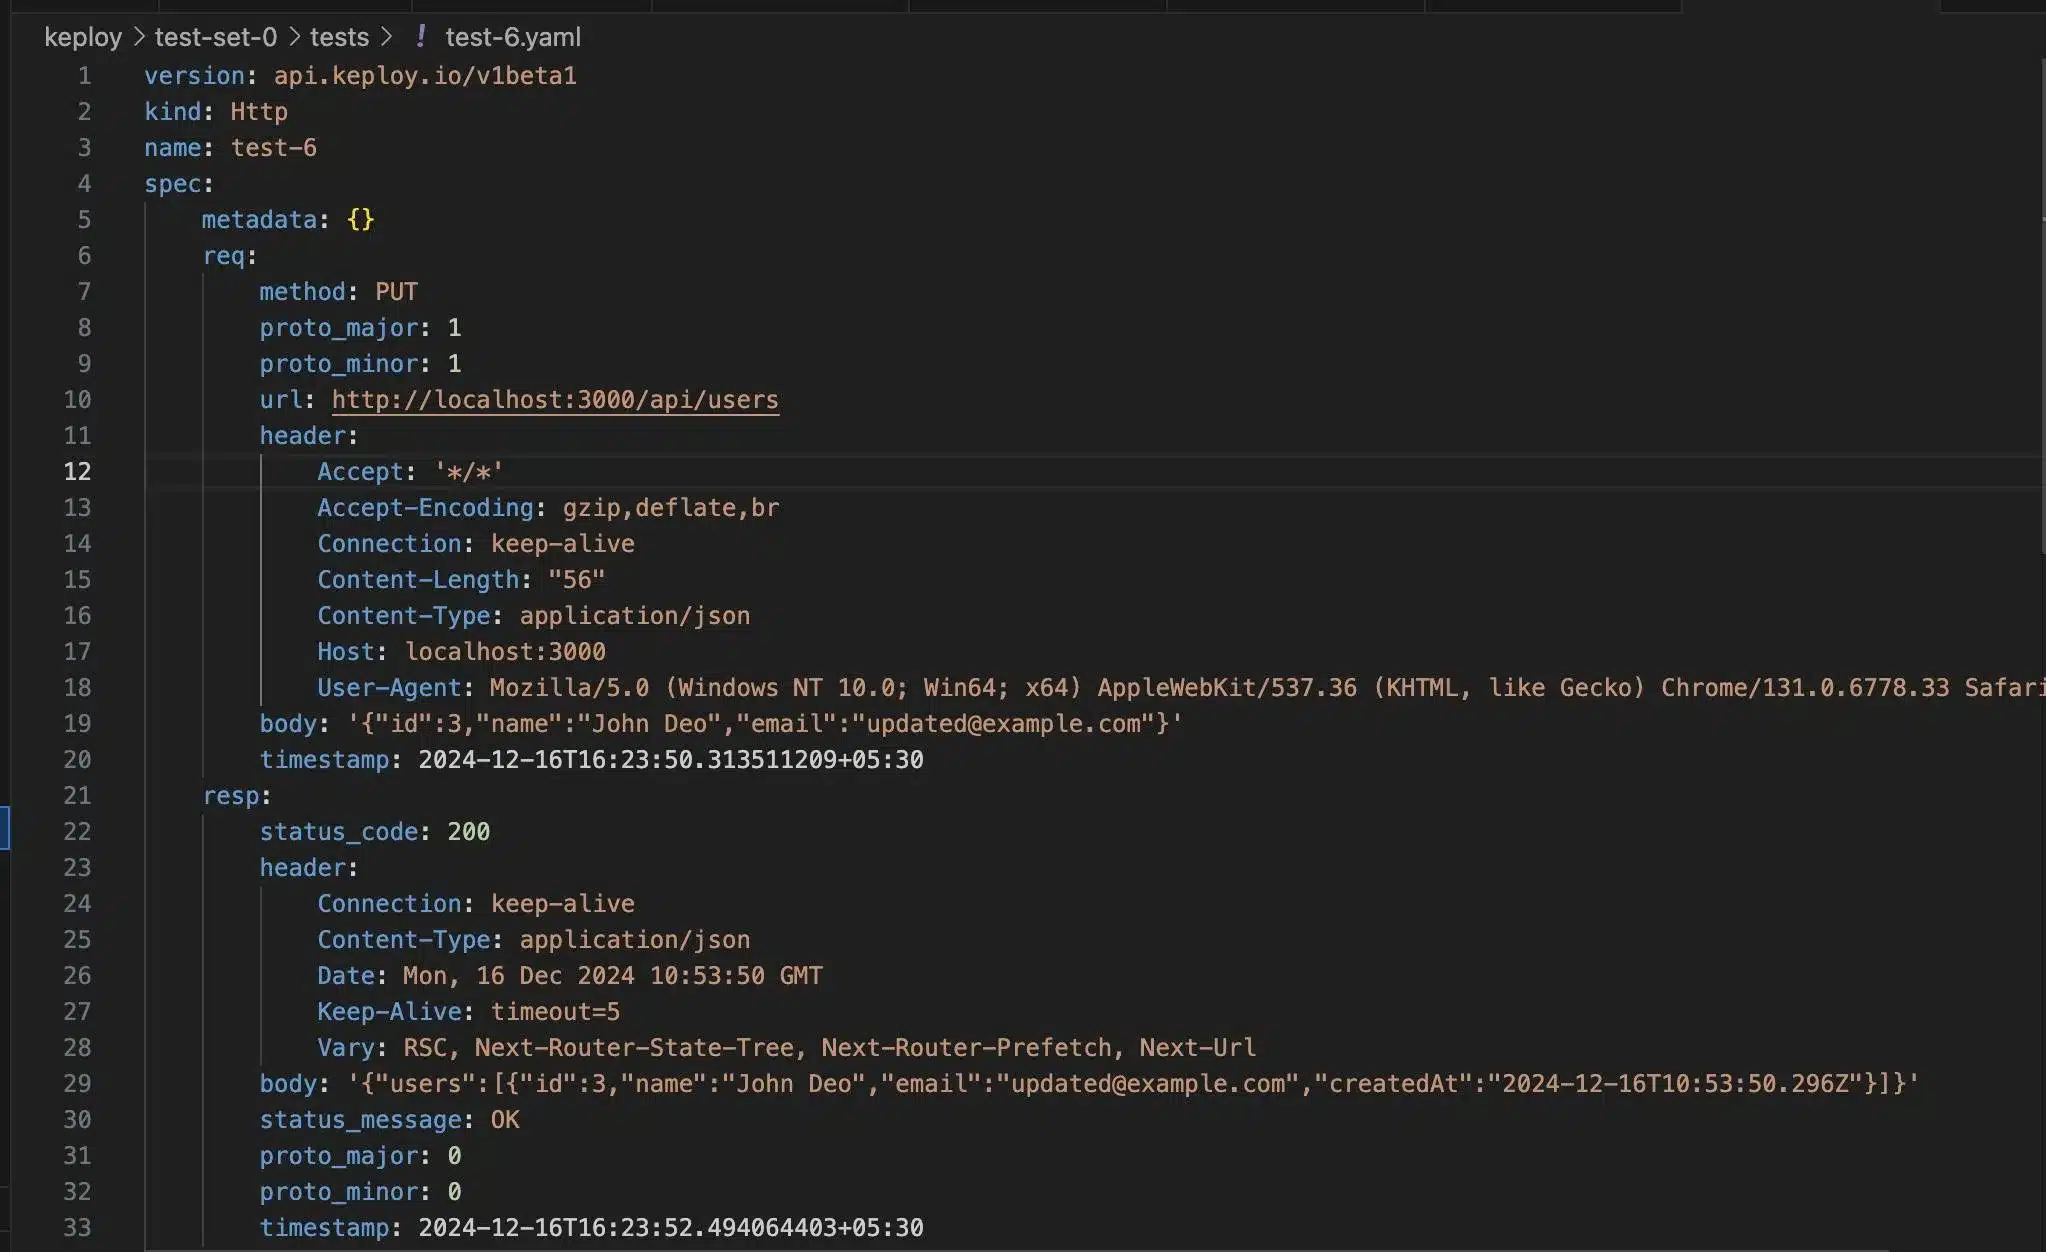
Once the interactions were recorded, Keploy automatically generated the corresponding test cases. Below is one of the such keploy test case: –

These tests could be run independently without needing any external dependencies like a live database. All I had to do was run Keploy’s test suite:
docker-compose down && keploy test -c "npm run dev"This command triggered the playback of the recorded interactions, testing the API without the need for a real database.

Conclusion
Migrating from Playwright to Keploy was a game-changer for my API testing process. Here’s a quick recap of why Keploy is a much better fit for modern API testing:
-
No More Database Hassles: Keploy eliminates the need for a live database, making your tests faster and easier to manage.
-
Zero-Code Testing: No more repetitive test code—Keploy automates everything from data mocking to test generation.
-
Seamless CI/CD Integration: Keploy fits perfectly into existing CI/CD pipelines, speeding up your feedback cycle and increasing productivity.
-
Realistic Test Coverage: Keploy captures real API interactions, ensuring comprehensive test coverage and reliable results.
If you’re struggling with Playwright’s complexity for API testing, I highly recommend giving Keploy a try. It’s an easy, powerful, and efficient way to automate your API tests, allowing you to focus on building high-quality software instead of wrestling with infrastructure setup and data management.


Leave a Reply